I have 2 big jobs to get done in this episode. I have to make sure I cover all three of the subjects in the title, and I have to keep your attention long enough to get you to the big payoff at the end.
I’m a storyteller. I always was, and while that sometimes didn’t work out so well as a young boy, it’s what I’m going to do now in an attempt to get all this knitted together. If you have done your homework by reading the previous post (This BS is so Texas!), you are already familiar with Stanley and are now prepared to hear, as Paul Harvey would say, the REST of the story. Now might be a good time to get a cup of tea, a glass of wine, or whatever. Sit back and enjoy the ride!
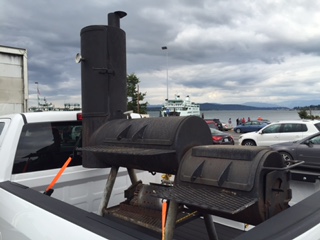
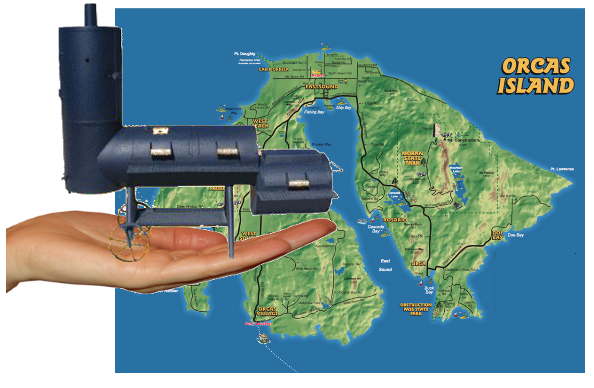
Not too long ago (days, not weeks or months) I got a phone call from my ex-Brother-In-Law (BIL, get it?), Dennis. He hasn’t been a brother in law for longer than he was, but we are still buds, and that really didn’t have anything to do with the fact that he was in possession of one of my dearest assets, Stanley, my Texas Smoker. Dennis was job hunting and had a few opportunities, all of which would likely require him to move from his home in Healdsburg, California. Thankfully, he had already retrieved Stanley from his cold and lonely exile at the back of the Henweigh Café to his house, but he wasn’t ready to schlep him along to his new home, wherever that turned out to be. So, he called to announce that “it might be time to sell Stanley”. Sell? Really? Would he sell his sister? (Maybe not such a great rhetorical question, let’s try again.) Would he sell his own son? Of course not! And, therefore, there would be no talking of selling when it came to Stanley, as good a member of my family as my own brothers (apologies to all of them). So, it became necessary to rescue Stanley, and return him to the fold.
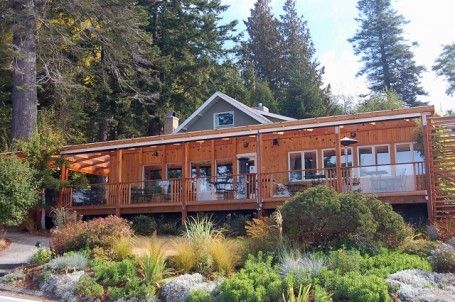
Whilst he might have been delivered to me by a hand from the heavens (okay, I might have missed it again), I couldn’t count on that same delivery service to render passage to his next home, which we had decided would be my sister’s place on Orcas Island, Washington.

And so is born a Mission from God (a salute to The Blues Brothers). My current Brother-In-Law, Jeff, and I had been conspiring for quite some time to retrieve Stanley from the Henweigh and bring him to paradise, but the sheer distance and labor required to do that humbled us. Now a new threat had made itself known, and it became urgent and necessary. On a few days’ notice, we put together the Road Trip Plan. In our college days, this would have been a story of an old pickup truck, several cases of beer, 6 hour driving shifts, fast food drive-thrus, and bloodshot eyes. But the reality is, we’re a couple of old farts who couldn’t drive a 6 hour shift without a 12 pack of Depends. For as much as we drink, a case of beer would get us to the southern tip of South America, and unless that drive-through is packaging a defibrillator with every Big Mac, we wouldn’t make it out of King County alive.
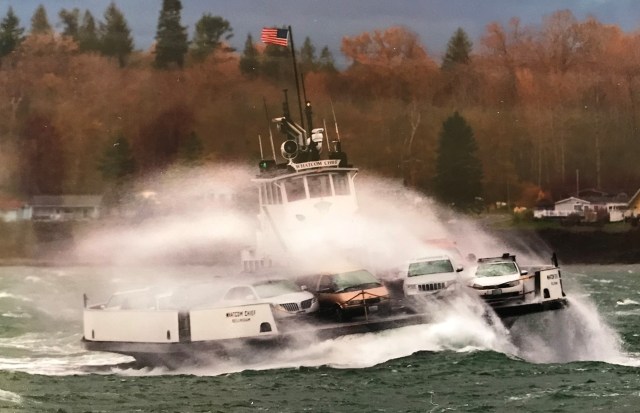
I only had 2 days off work, my usual Sunday and Monday, so it had to be a quick turn-around trip. One way is 803 miles, estimated to be about 13 driving hours, not counting stops. And assuming we wanted a few hours of sleep each way, and that we had to eat and gas up (the truck, please), it looked like 2 days would just about do it. We also had Jeff’s return ferry trip to the Rock as an incentive to keep a tight schedule.
Launch time from Kenmore was decided to be 8PM on Saturday. Jeff could catch a later ferry from Orcas for a timely arrival at my place after quitting time. This would give us a good light traffic window for most of the trip, and we could break it up by stopping near Portland, Oregon to catch a few ZZZZ’s.
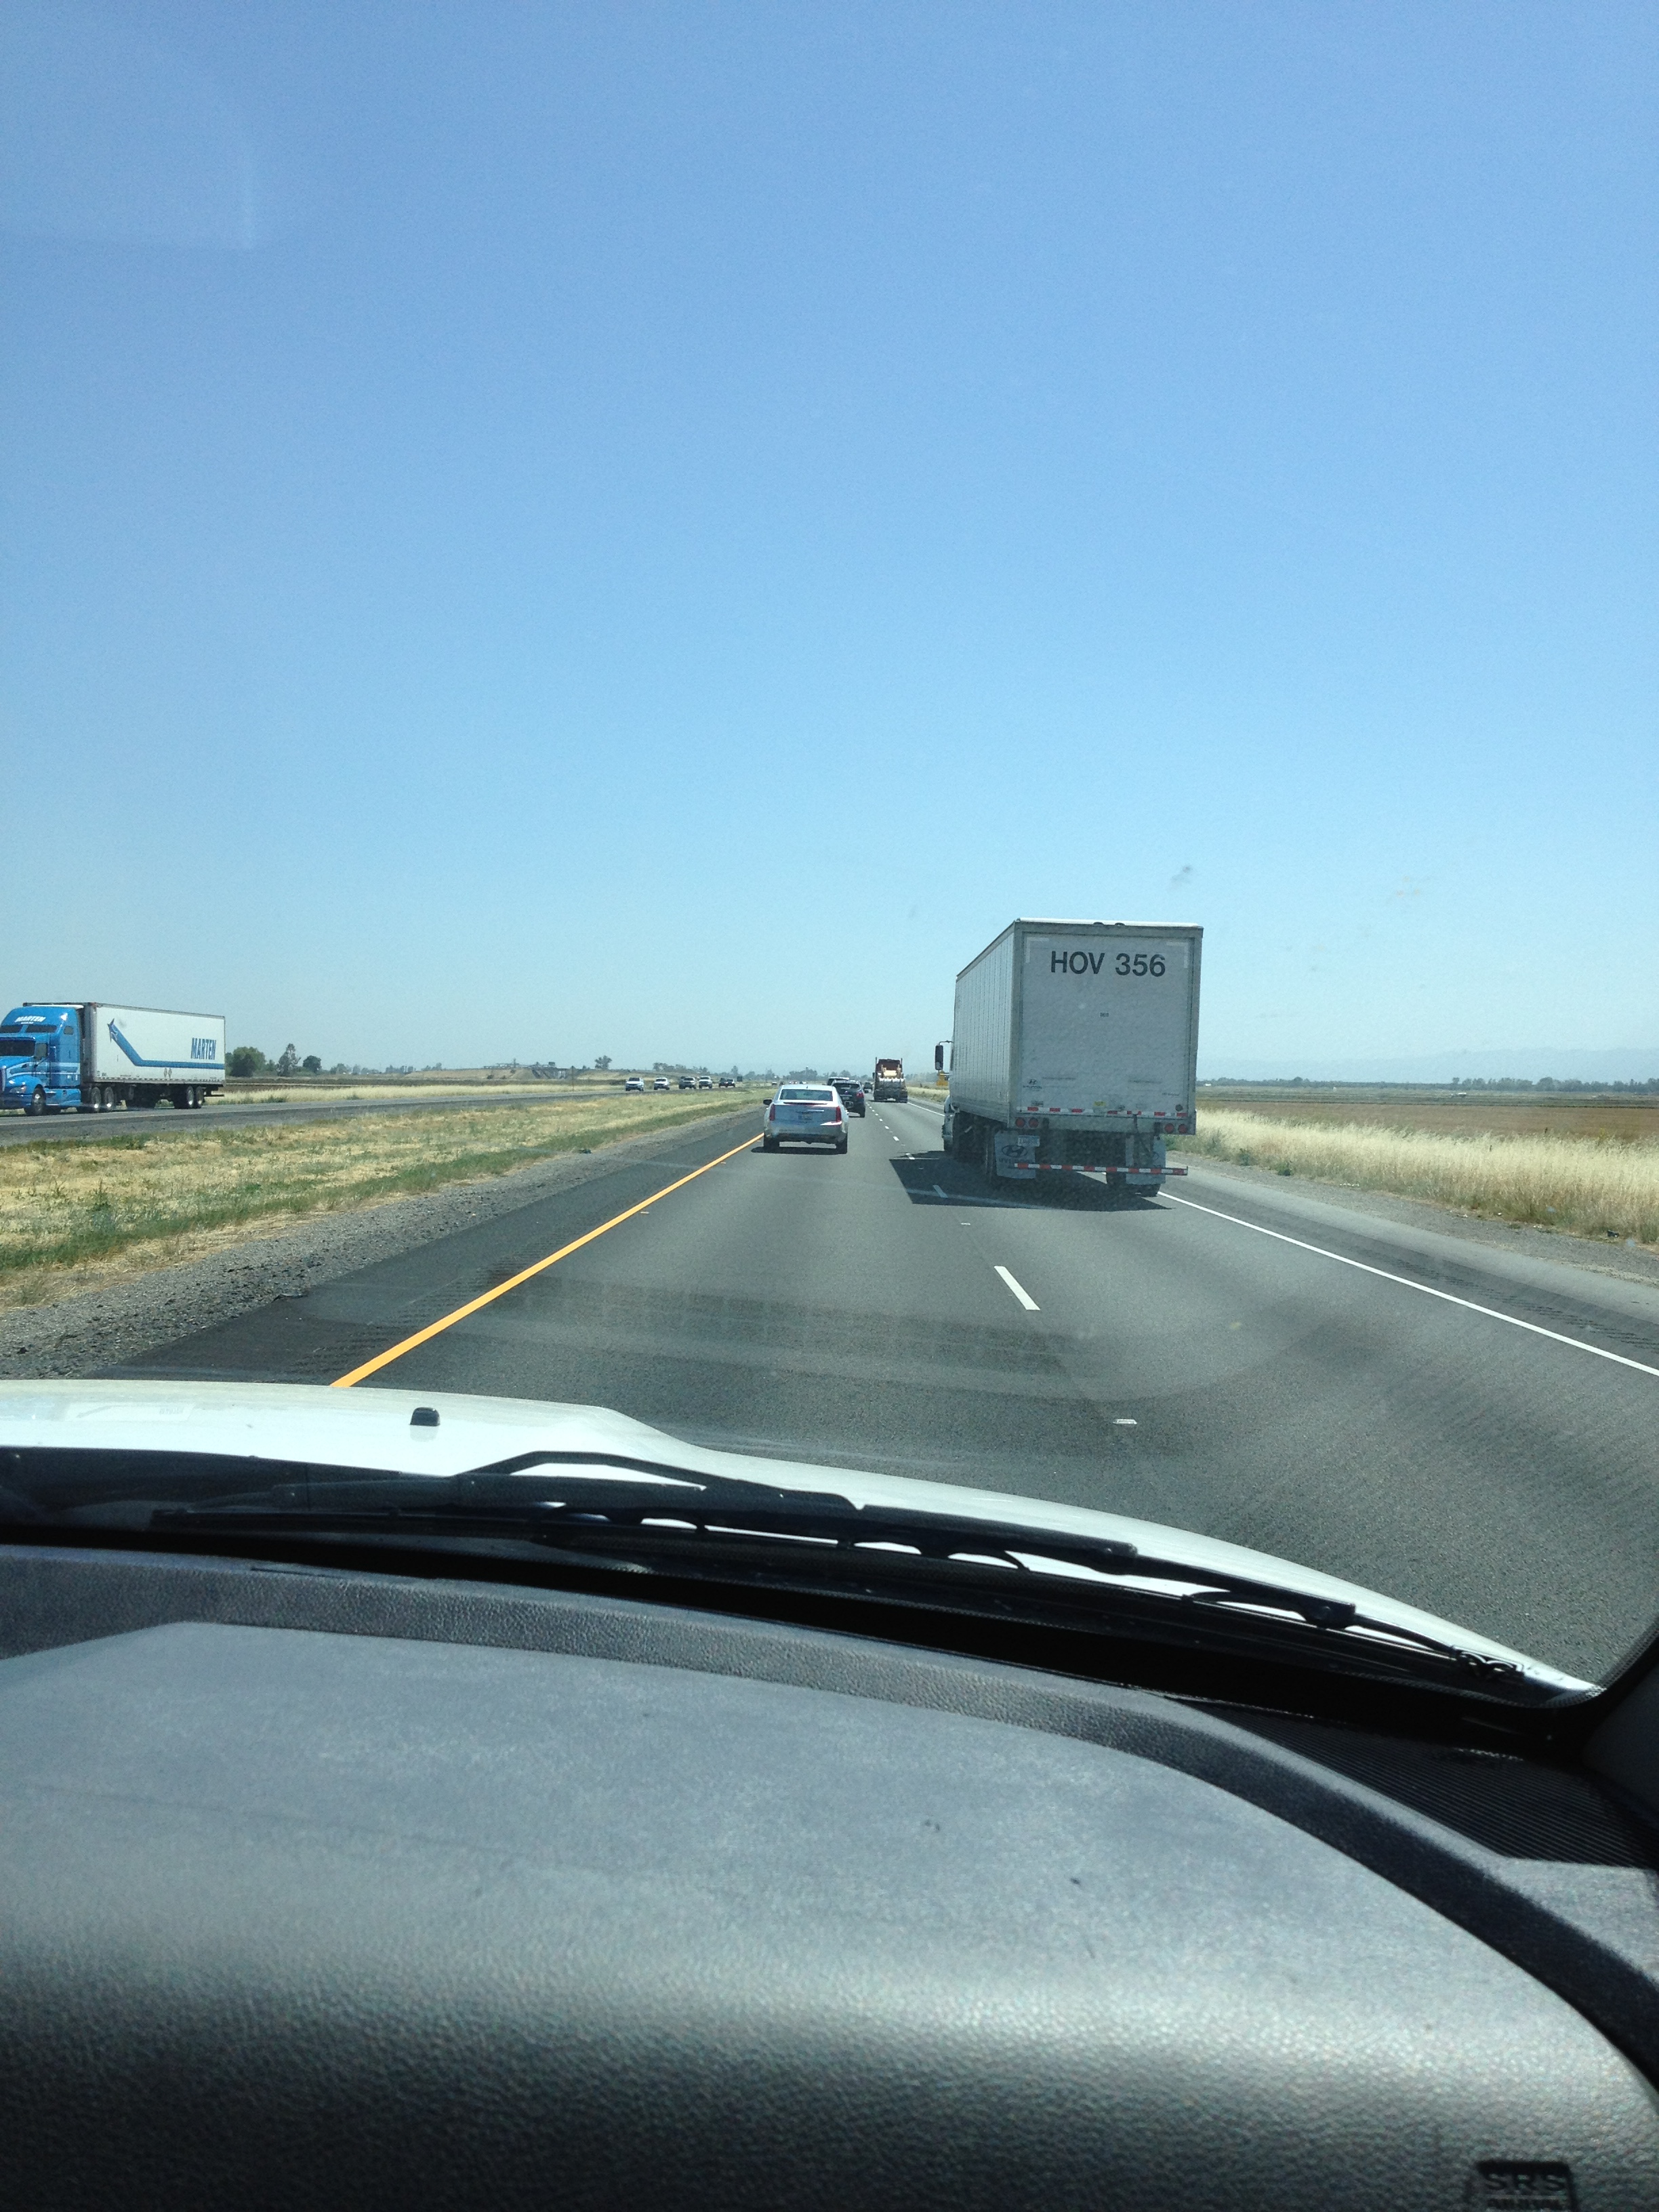
At this point, one third of my writing goal is fulfilled: I have properly introduced and discussed the BIL Road Trip part of the title. But I am not going to bore you with all of the details. Instead, I’d like to get to some of the BS Philosophy stuff. You can fill in the landscape whizzing by in your mind as we wind our way, well above the speed limit as it turns out, through 3 states on our God-mandated mission of recovery and fulfillment. That sounds so noble. I hope I don’t go to Hell for that.
Jeff and I are both blessed with being “look on the sunny side of life” kind of guys. We both enjoy a good laugh. While we are of different political persuasions, we can still find room to poke fun at any and all current or prospective public office holders. That’s a pretty low bar, though, it’s brutally easy to take shots at our politicians these days. We don’t drive slow (flow-of-traffic, people, flow-of-traffic), we don’t need a radio blaring the whole time, and we both have a soft spot for cute waitresses. So, needless to say, we make a good Road Trip Duo. And that is a very fertile environment for BS Philosophy. If the recipe says: Put two irrepressible funsters in a tin can for 36+ hours, sleep deprive them, and feed them lots of fresh apples and peanut butter sandwiches, you will get a TON of BS Philosophy. It’s like a machine.
For instance, we share a curiosity about one of the great mysteries of our age: Where the heck to all these stunningly good looking gay male couples get their money? They seem to always be vacationing in Tahiti or the Dominican Republic, and they’re tan, thin, impeccably dressed, and relaxed looking. Neither one of us has a single thing against gay people, but I suspect there’s a secret source of money, the GayTM. We’re just sayin’, you know?
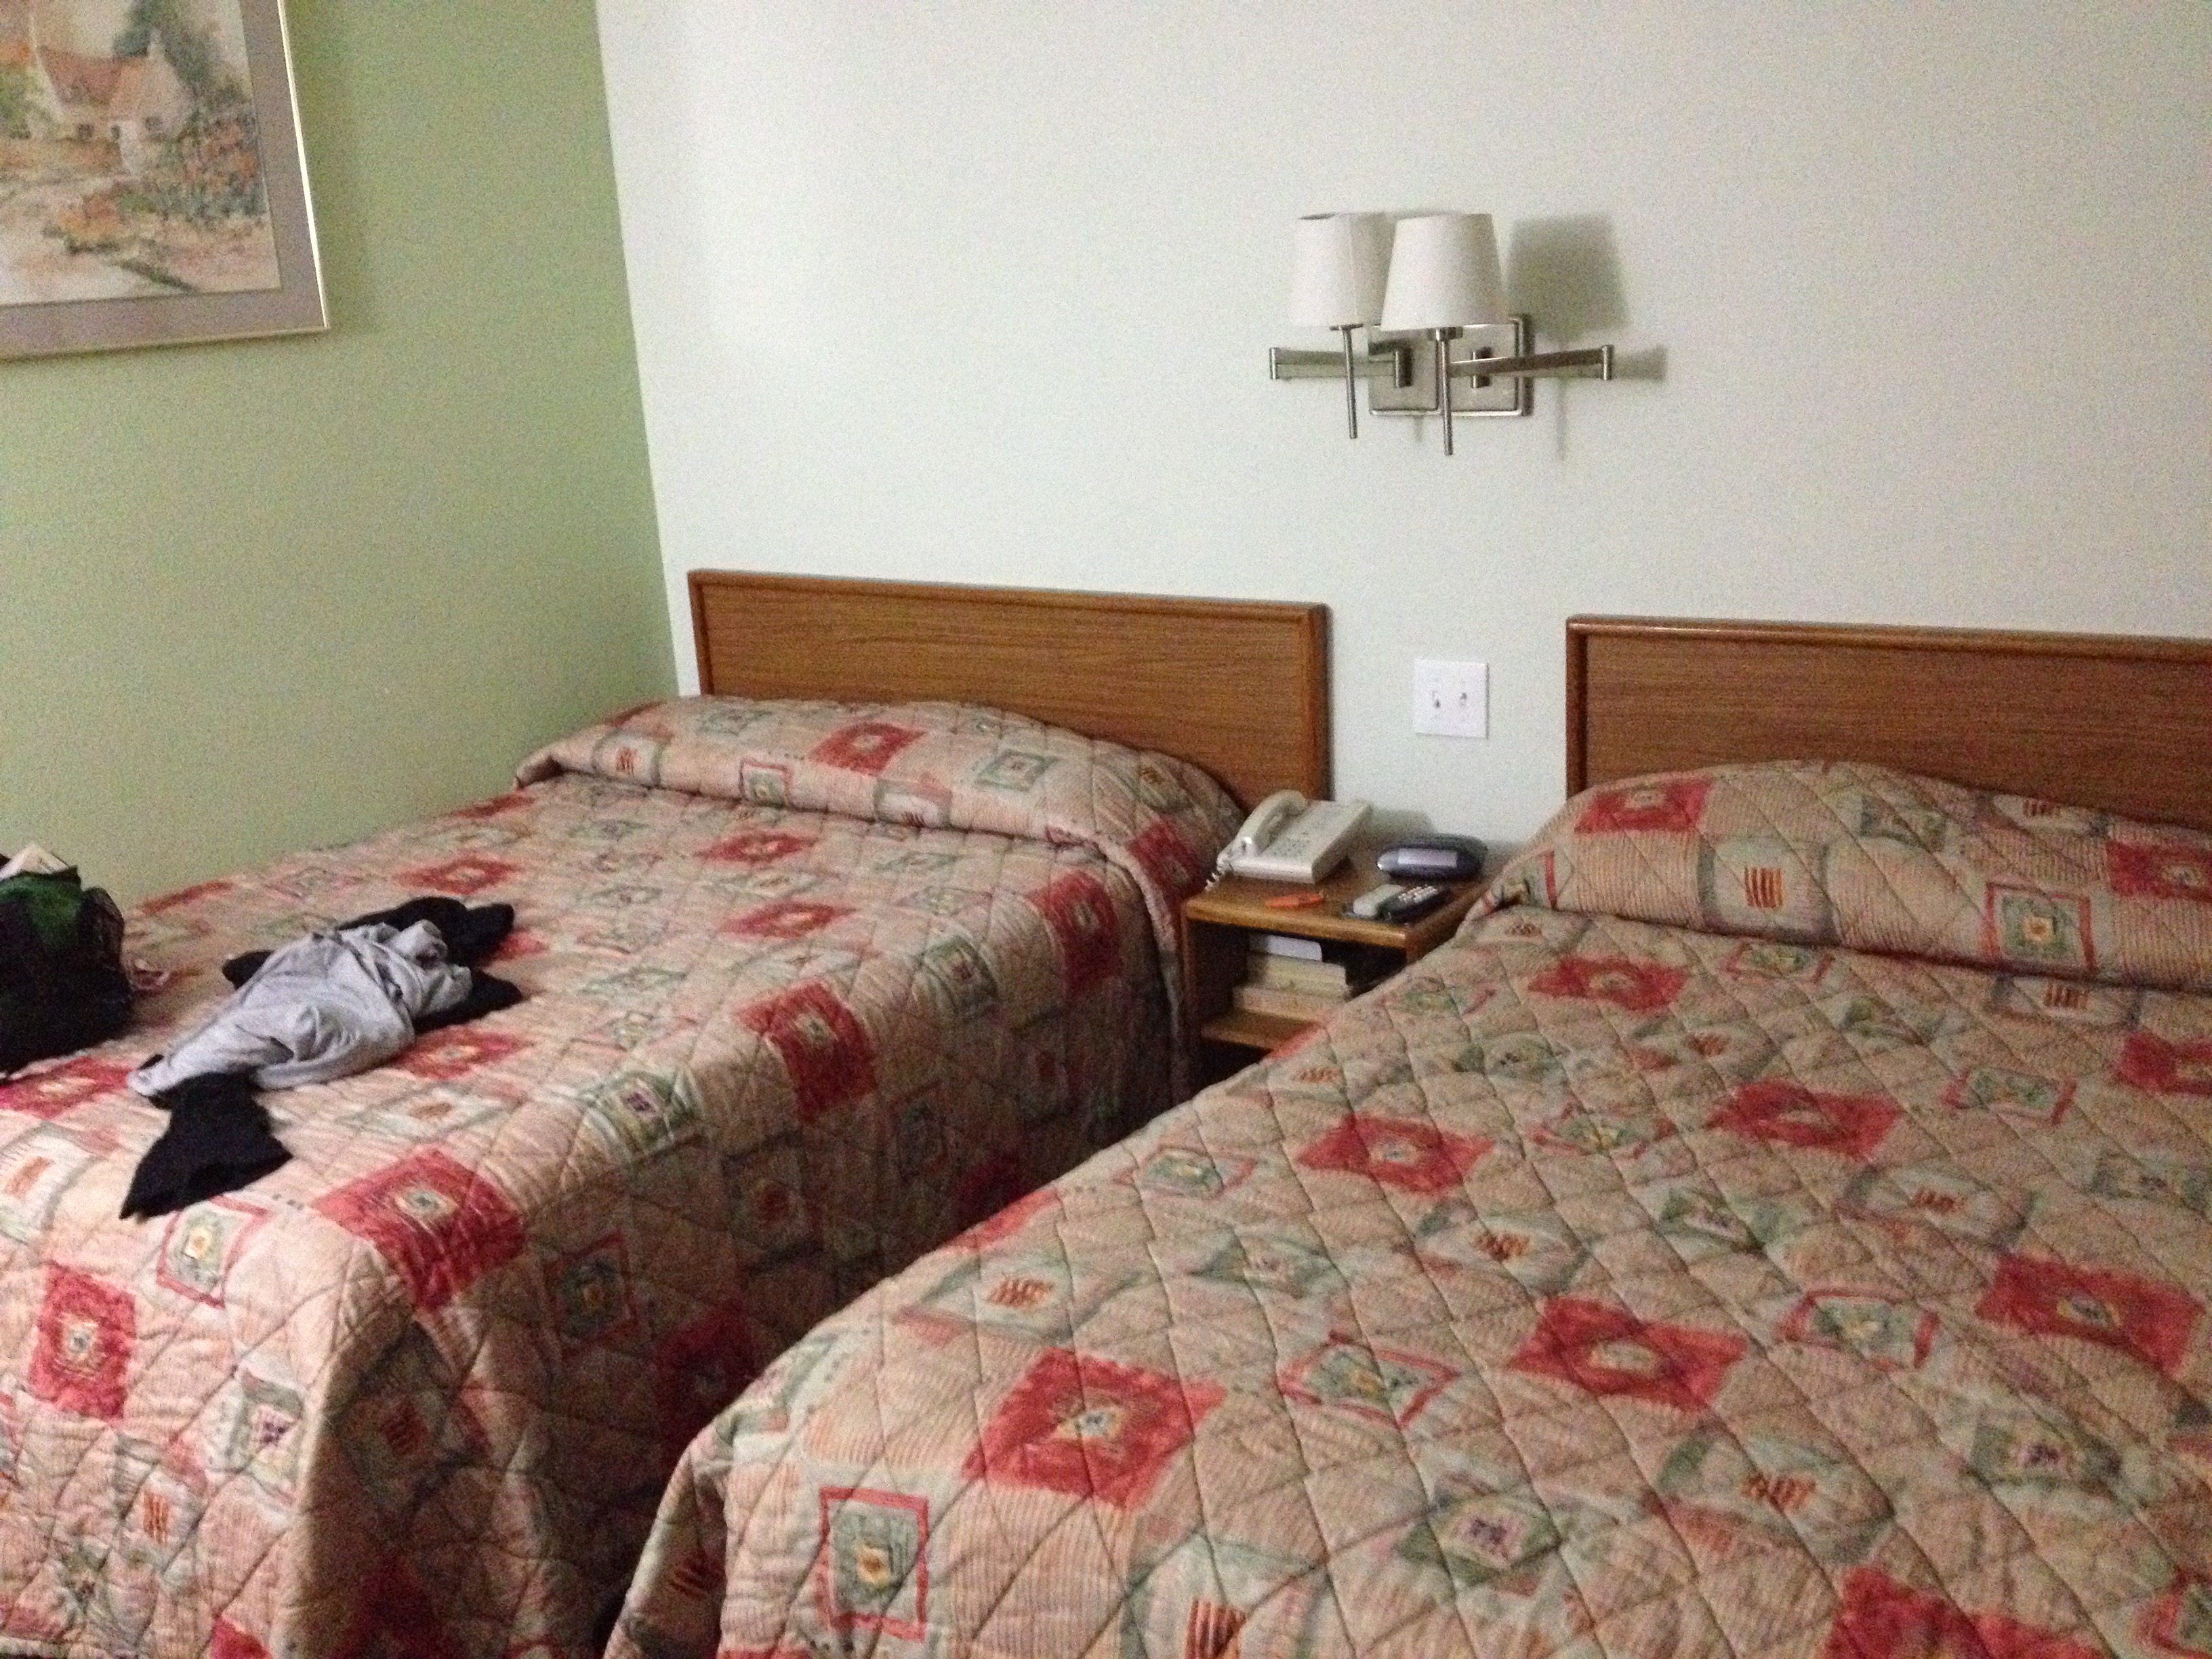
I know I promised you no actual details, but for those of you struggling to sustain the mental images of landscape whizzing by, we slept for a few hours at the Snooz Inn in Wilsonville, Oregon.

Now, back to the BS. Jeff votes democratic simply because he hates all republicans. That’s as good a reason as any; at least he votes. I will vote nearly any which way if I think the candidate can either put more money in my pocket, or at least might not take too much out of it: I’m a libertarian. But both of us agree that the status quo is either totally distressing or totally laughable. The Democrats are going long on the Clinton/Obama Dynasty with Hilary; the Republicans are working hard to parade out yet another stream of clowns in the hopes that they accidentally discover a winner (NOT like that horrible Sarah Palin incident, shame on you John McCain!). But I think I smell a rat, and Jeff didn’t disagree. What if Hilary is a ruse? A red herring? What if she is just being propped up in the spotlight, scandals and all, to take the massive brunt of the republican assault, so they can slip in Elizabeth Warren at the very end? Think of the relief the growing crowd of doubting and nervous democrats would feel, and how tired all of the republican clowns would already be. It’s pure political genius I think, unless they repurpose Hilary as the Veep. Or Michelle. Arrgh.
Have you ever been at a party, or even just at the supermarket, and overheard a great line from a movie? It happens all the time. These great lines are everywhere, and used in almost any context. Heck, there almost isn’t any context required to pop off “There’s no crying in baseball!” It’s good for a laugh almost every time you use it, and you can’t keep that image of a confused and flustered Tom Hanks out of your head. And let’s not forget (easy on a Road Trip), “the Sheriff’s a-near!” from Blazing Saddles. You can fill in as many as you can remember here. The point is, much of our conversation, especially at night, was simply bouncing movie one-liners back and forth like a “Top This” ping pong pissing match. It wouldn’t make a single bit of sense to anyone listening in, but it made astonishingly good sense to us. And in a blinding realization, we posited that there may already be 2 generations born and grown that just don’t get this. Which makes us seniors just a bunch of babbling idiots. It’s a good thing I like babbling.
I’ll interject another landscape prop here to keep those mental images fresh. We crossed the border into California and found a rest stop just as our bladders were ready to render a severe embarrassment on the two of us. I was quite taken with a small bunch of beautiful irises and just about to scoff at the Great California Drought as an obvious moon-landing like hoax, when I overheard some nice elderly folks praising the nice little old lady from Oregon who walks down from the border each morning with a Dixie cup of water for them. I had no idea.

Those irises got us ruminating about the drought. Silently at first, and for quite a while. But when we hit the bridge over Lake Shasta, and saw that it is only 25 feet or so below normal, we went vocal. Both of us had an image of a 2 foot wide ditch of water where once a majestic lake full of house boats and jet skis existed. The power of the media is not at all fully understood by the vast majority of people. It is as expansive as the stupidity of our political leaders. Did you know that the very highest rate that a Beverly Hills lawn-watering, long-shower-running, 2-gallon-flushing, tap-water guzzling homeowner will pay for water is still lower than what we pay in Washington? Tiered rates and penalties? Really? Get a grip. Hey, Beverly Hills, There’s no crying in baseball! See, I told you.
Oh, here’s another baffling one. So many of our youth have absolutely no appreciation for the richness of what our generation considers the recent past. Richness in art (Worhol for instance), music (The Grateful Dead, eh?), and even language (remember Esperanto?). Jeff was compelled a few years ago to survey at least 5 young adults about the origins of the “-gate” suffix we so quickly affix to any scandal (most recently Deflate-gate from the Super Bowl). Of the 5, only 1 of them vaguely recalled that Watergate had “something to do with Nixon or Johnson”. There’s a ton of words or expressions like that. While they robustly live on, their origins are nearly lost, except to Google or Wikipedia. This could have the makings of a great Trivial Pursuit deck. Wait, is Trivial Pursuit lost on hipsters? Arrgh.
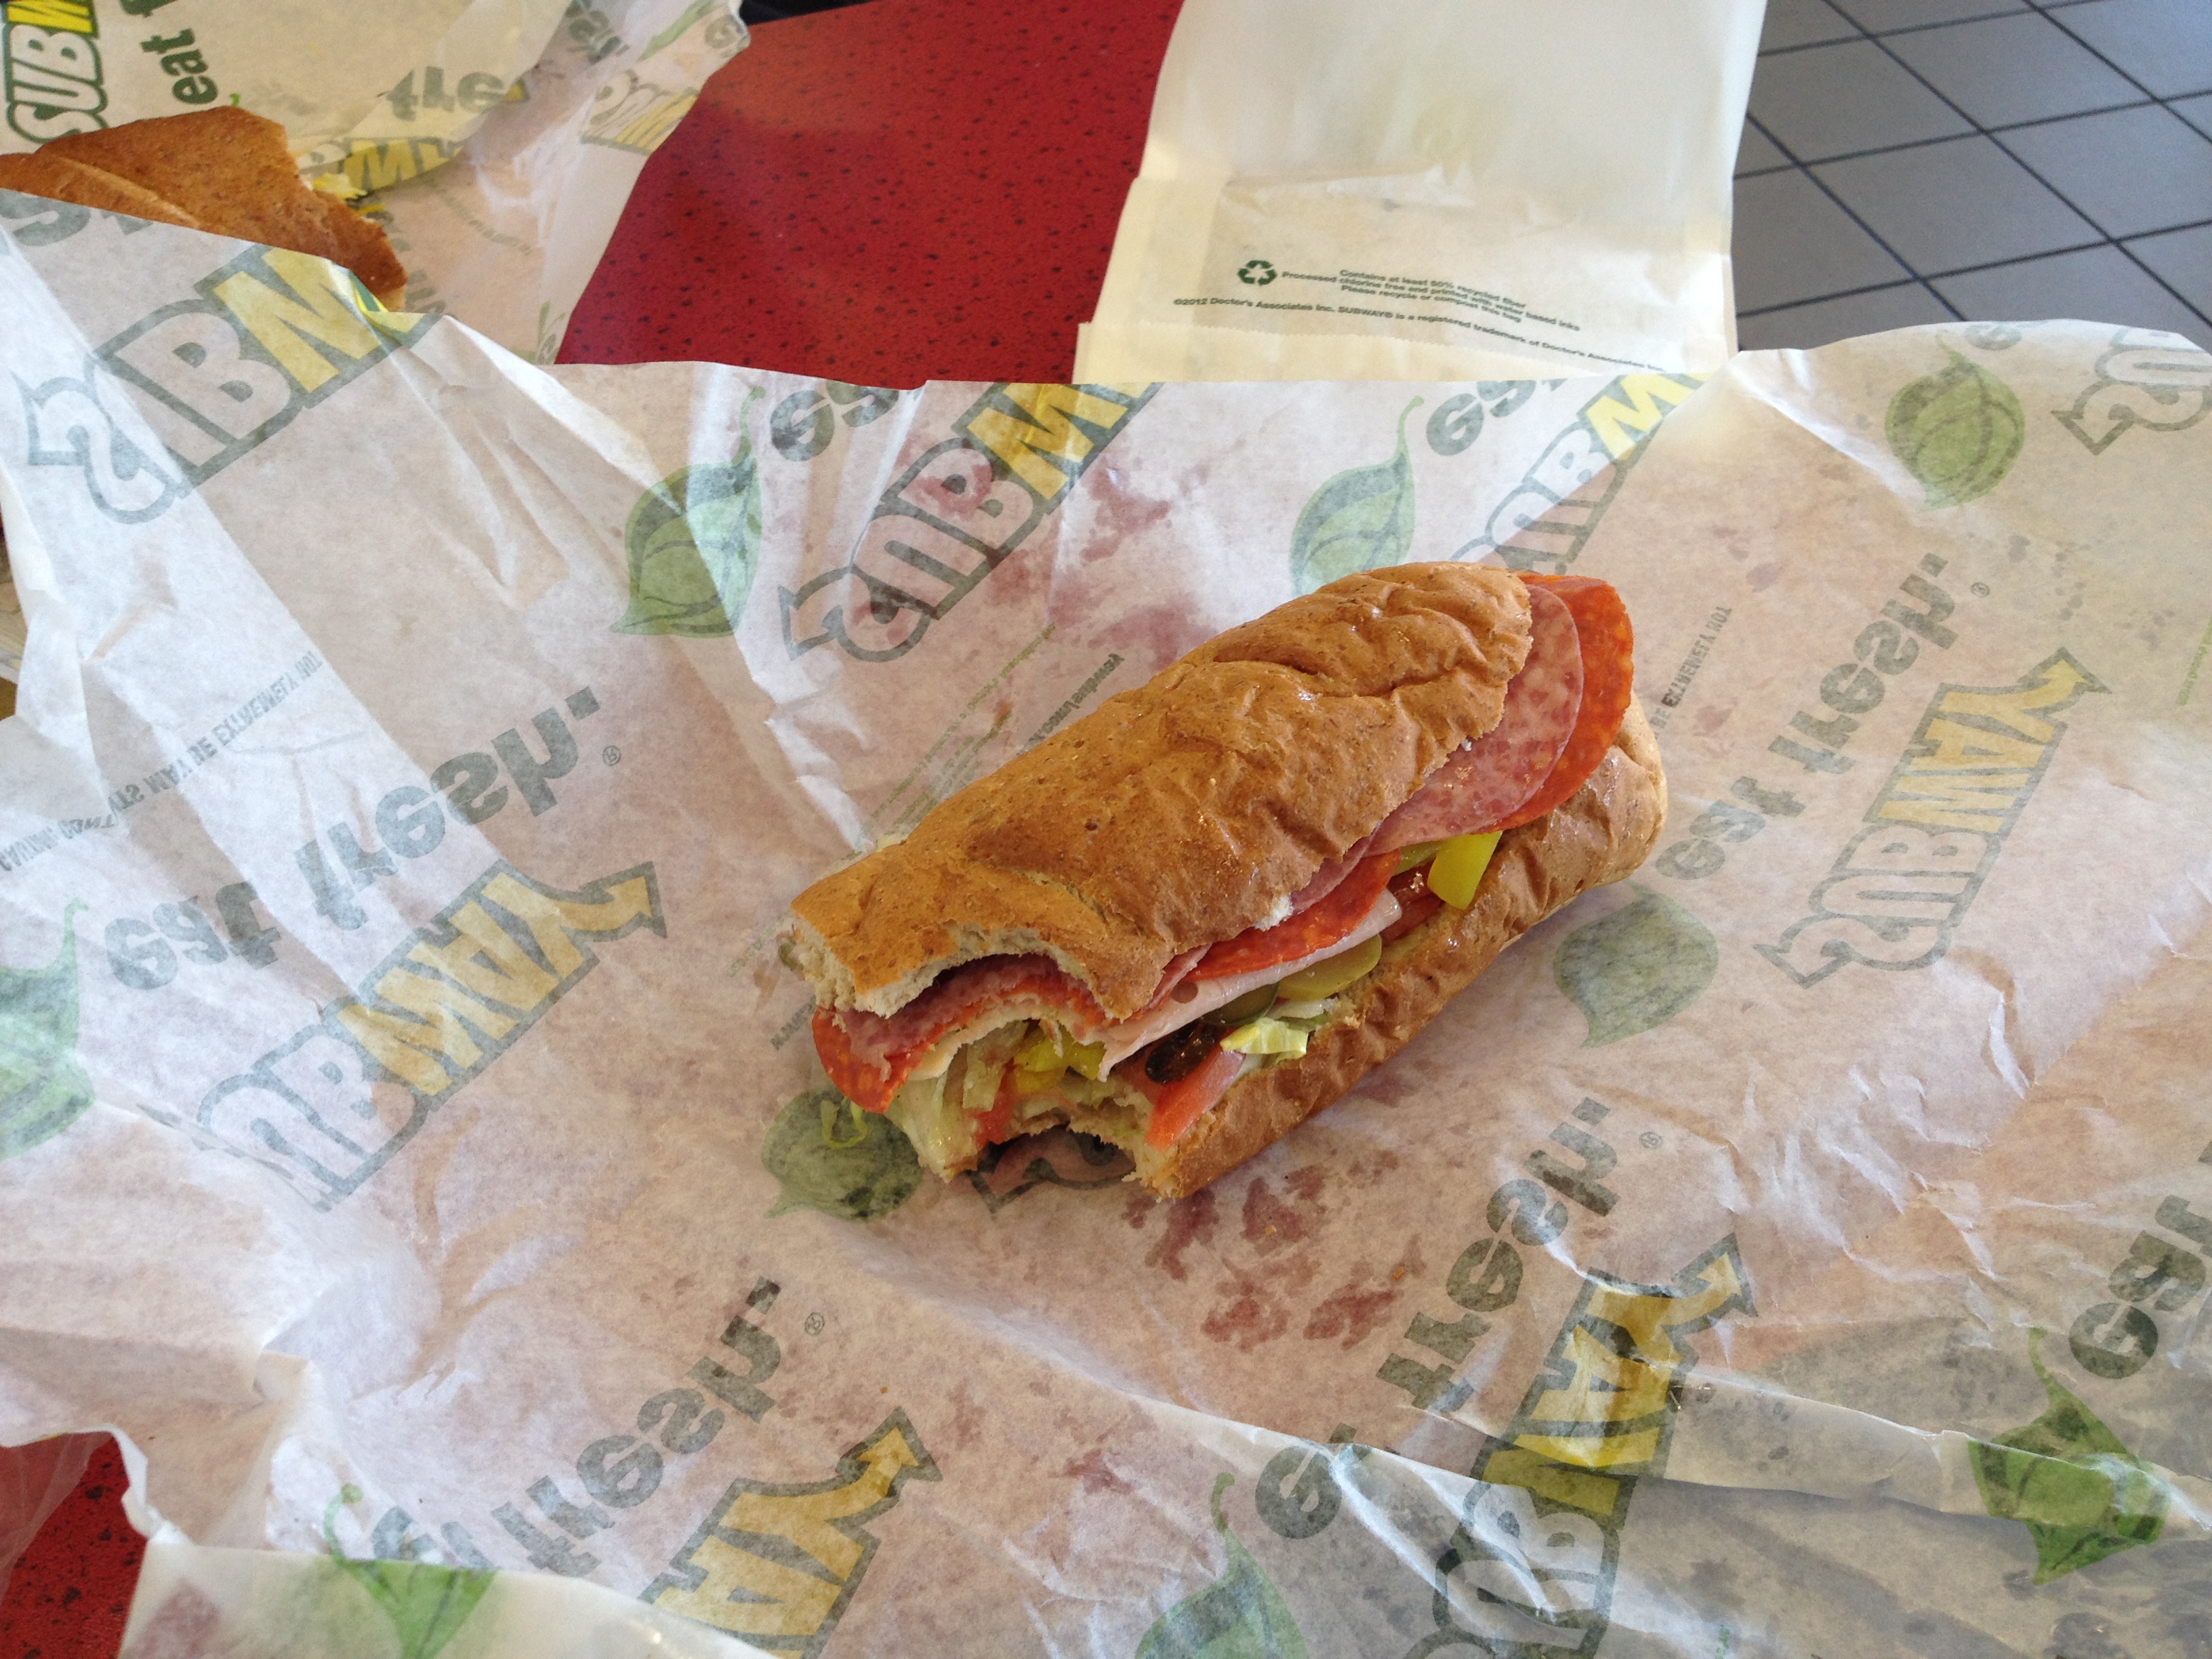
Lunch on Sunday was the Red Bluff Subway at the Shell station on I-5.

A sub sandwich can enhance the production of BS Philosophy, especially if you wolf it down, and then sit on a bumpy highway at 85 mph for several hours. And especially when the landscape is as scintillating as this:

Have you ever looked around your own home and truly seen the spaces you almost never set foot in, except to dust and vacuum? Some people have whole floors of their houses they haven’t seen in years. Some people have whole houses they haven’t seen in years. About the time we were on this mystical rant, we saw this:

I know that the Retro thing is huge right now. This trailer wasn’t much bigger than a Volkswagen Bug. I had images of 35 clowns getting out of it stuck in my mind for hours.
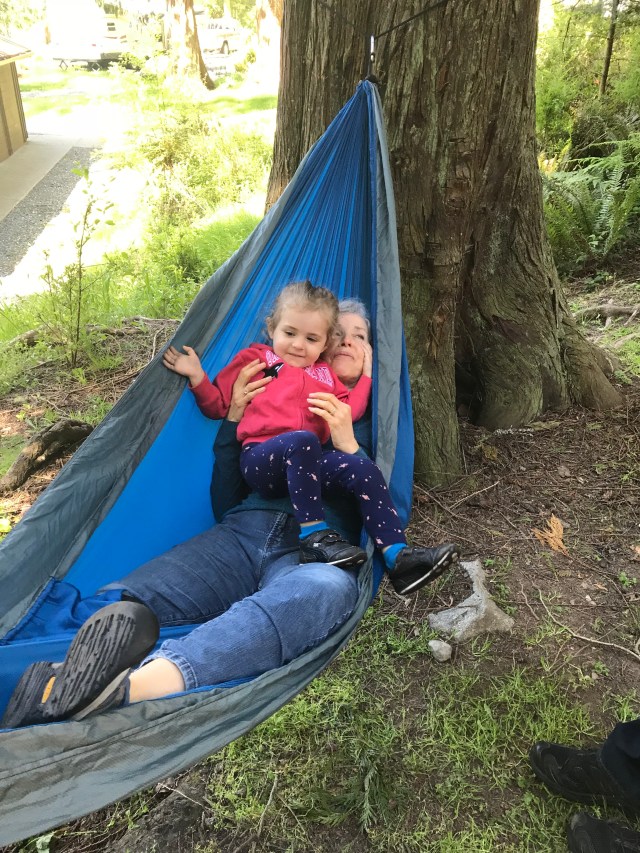
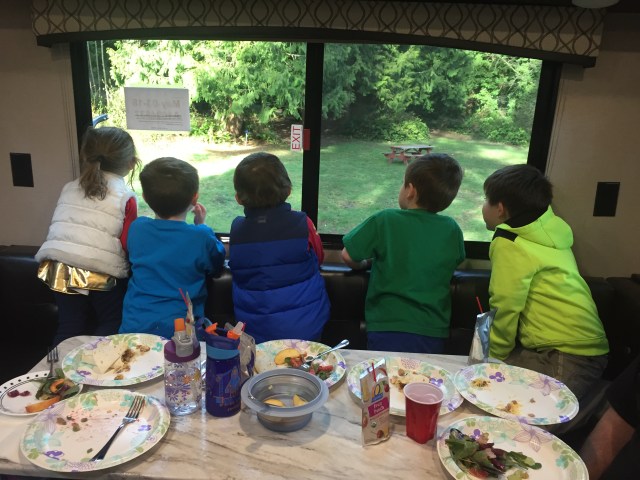
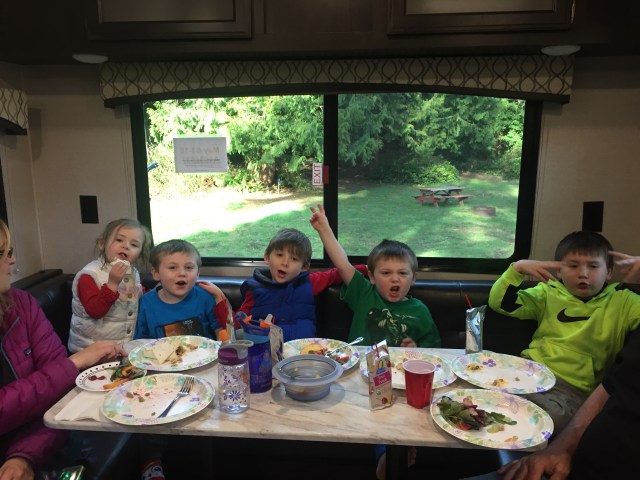
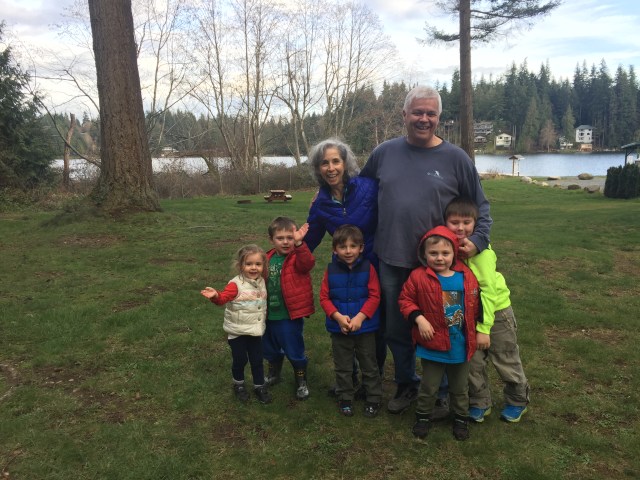
Anyone who has kids will say, out loud, that children are the greatest gift they could ever be given. But what they REALLY mean to say is that the only good reason to have kids is to have Grandkids. We seem to discover things in our grandkids that we totally missed in our kids. I’m sure it has something to do with either age or proximity, or diapers. As a grandparent, I rarely do diapers any more. Yeah, that’s it, it’s the diapers that keep us from fully appreciating the love of our children and yet almost immediately bond us inseparably to our grandchildren. We love our kids, as we do all of our family. But we shower our grandkids with all the good stuff.
We went south via I-5. Big mistake. Lousy landscape, and it’s surprisingly hard to find a small café. So we returned via 101 to the Crescent City turnoff to Grants Pass, where we picked up I-5 northbound again. Much easier on the eyes, particularly the short stretch in Mendocino where you are winding through the redwoods on a two lane highway that feels as narrow as a walking path. We really didn’t see a whole lot of the California coast because we had arrived at Dennis’ house at 5:00PM, and loaded up and left at 5:12PM, and nightfall at 8:30 would give us just another 3 hours of good sights. Unfortunately, all of that was inland and not on the Pacific Coast.
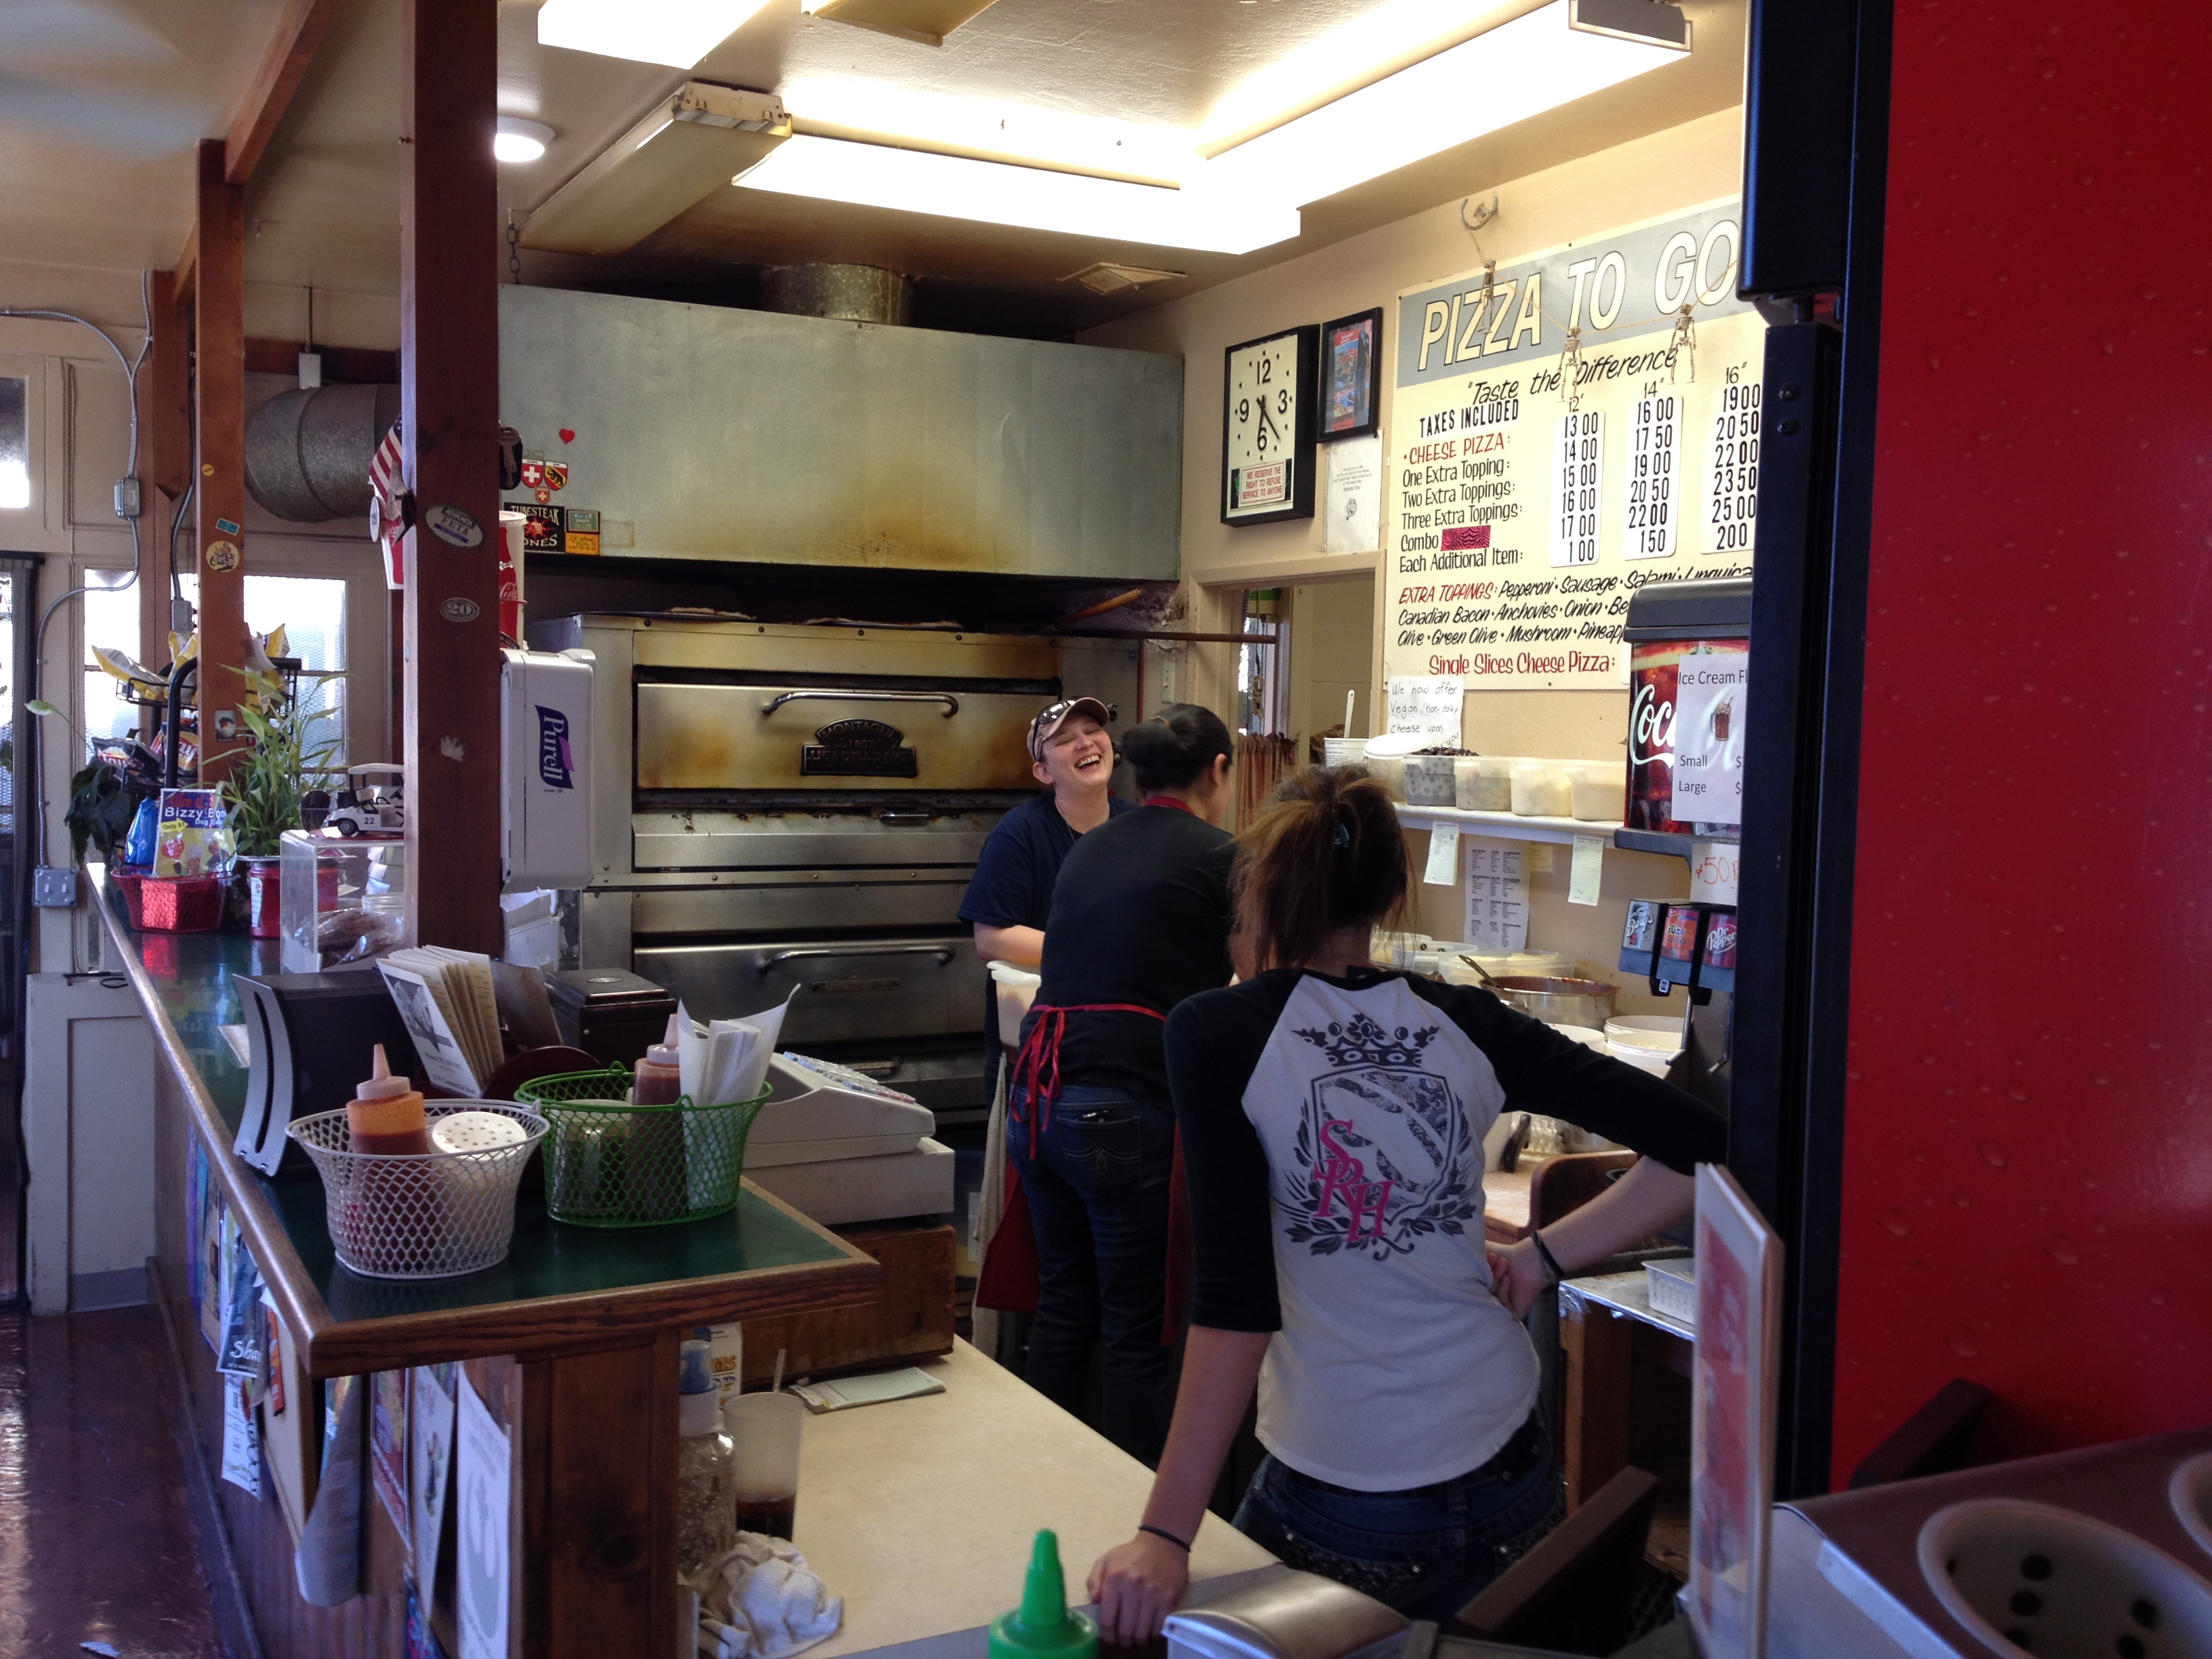
Dinner was a custom made pizza at Pizza To Go in Willits, California. Jeff has an allergy to garlic and onions, or anything a fire-eater like me might find on or in his food. So we let the girls cook up a pizza with all the ingredients on their list that wouldn’t assault his gut, and potentially make our tin can transportation even more challenging. It was very tasty, but I sense the girls there hadn’t seen anything like it ever. Or maybe ever again.

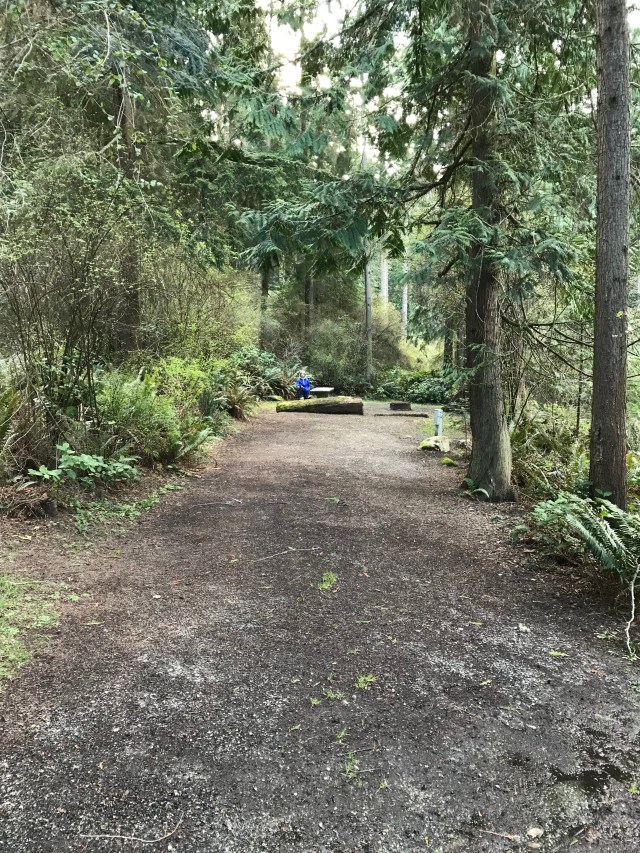
After 6 hours of shuteye at the Econo Lodge in Crescent City, we headed “Into The Woods” (thanks to Disney Productions for allowing me to use this cheap ploy to help the search engines pick this up better) well before the break of dawn on Monday.

I’m going to get to work on the Reflections part of the title. That doesn’t mean there weren’t plenty of other BS Philosophies thrown around inside the truck. It just means that I didn’t take notes, and my memory isn’t what it used to be. But you get the idea. Road trips are the mother lode for musings. They come in all flavors. Jokes, rants, pet peeves, grand ideas, family tales, virtually anything you can think of. But Reflections will always be a part of them.
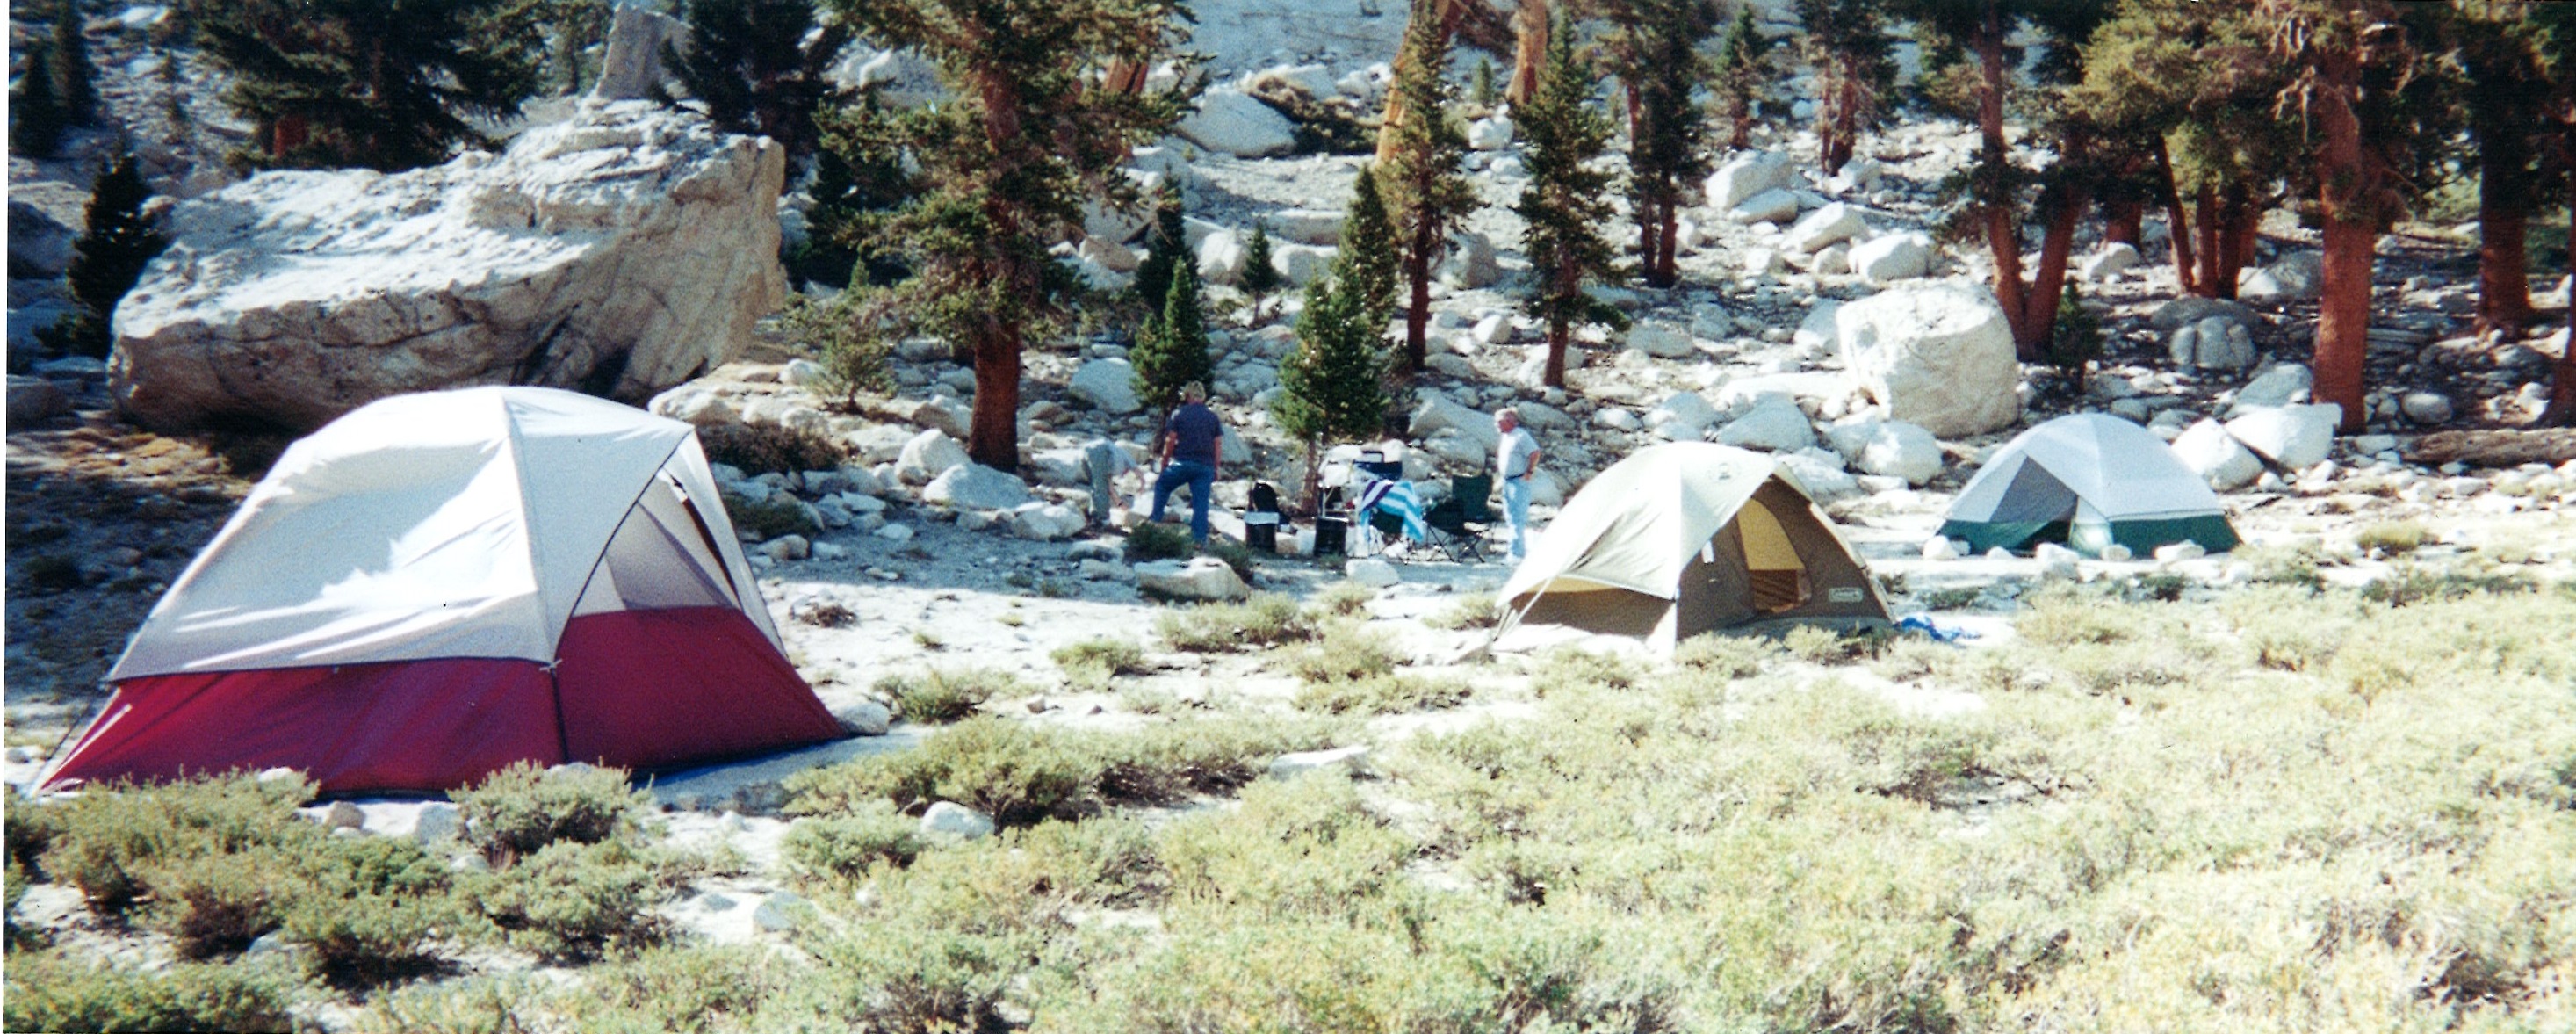
Most of our reflecting was on family. Our childhoods, our children’s childhoods, our parent’s childhoods. Even a little on our impending Second Childhoods. And what we discovered is that while we remember best the super good and super bad things in our past, glossing over the mundane, we tend to focus most on the goodness we might find in our future. And for this Road Trip Duo, that was where we would live, and what kind of work we would do. We also picked apart our Bucket Lists, which, by the way, are eerily similar. This is not something that would be easy on a couch in a living room. You simply aren’t going to spend that much time anchored to the couch, or any other seat, to get to the depths and detail it takes to do a proper picking apart. Even on a nice long fishing trip, you hopefully get too distracted with other issues to stay focused on a discussion topic for very long. But the magic that is a Road Trip gives a proper space to grow reflections.
Finally, Salem! We could feel the trip contracting to a very manageable distance now. And not much longer after that, the Columbia River!

All those closely packed cars resulted from the stupid DOT raising the drawbridge for some crappy little fishing boat to go under. And the northbound section stuck last year, resulting in a very nasty backup that required cars to actually back down off the bridge and seek another way across. So they lower it very slowly now. And we sat for 20 minutes waiting for that to finish. I have no idea how long the backup stretched through Portland.
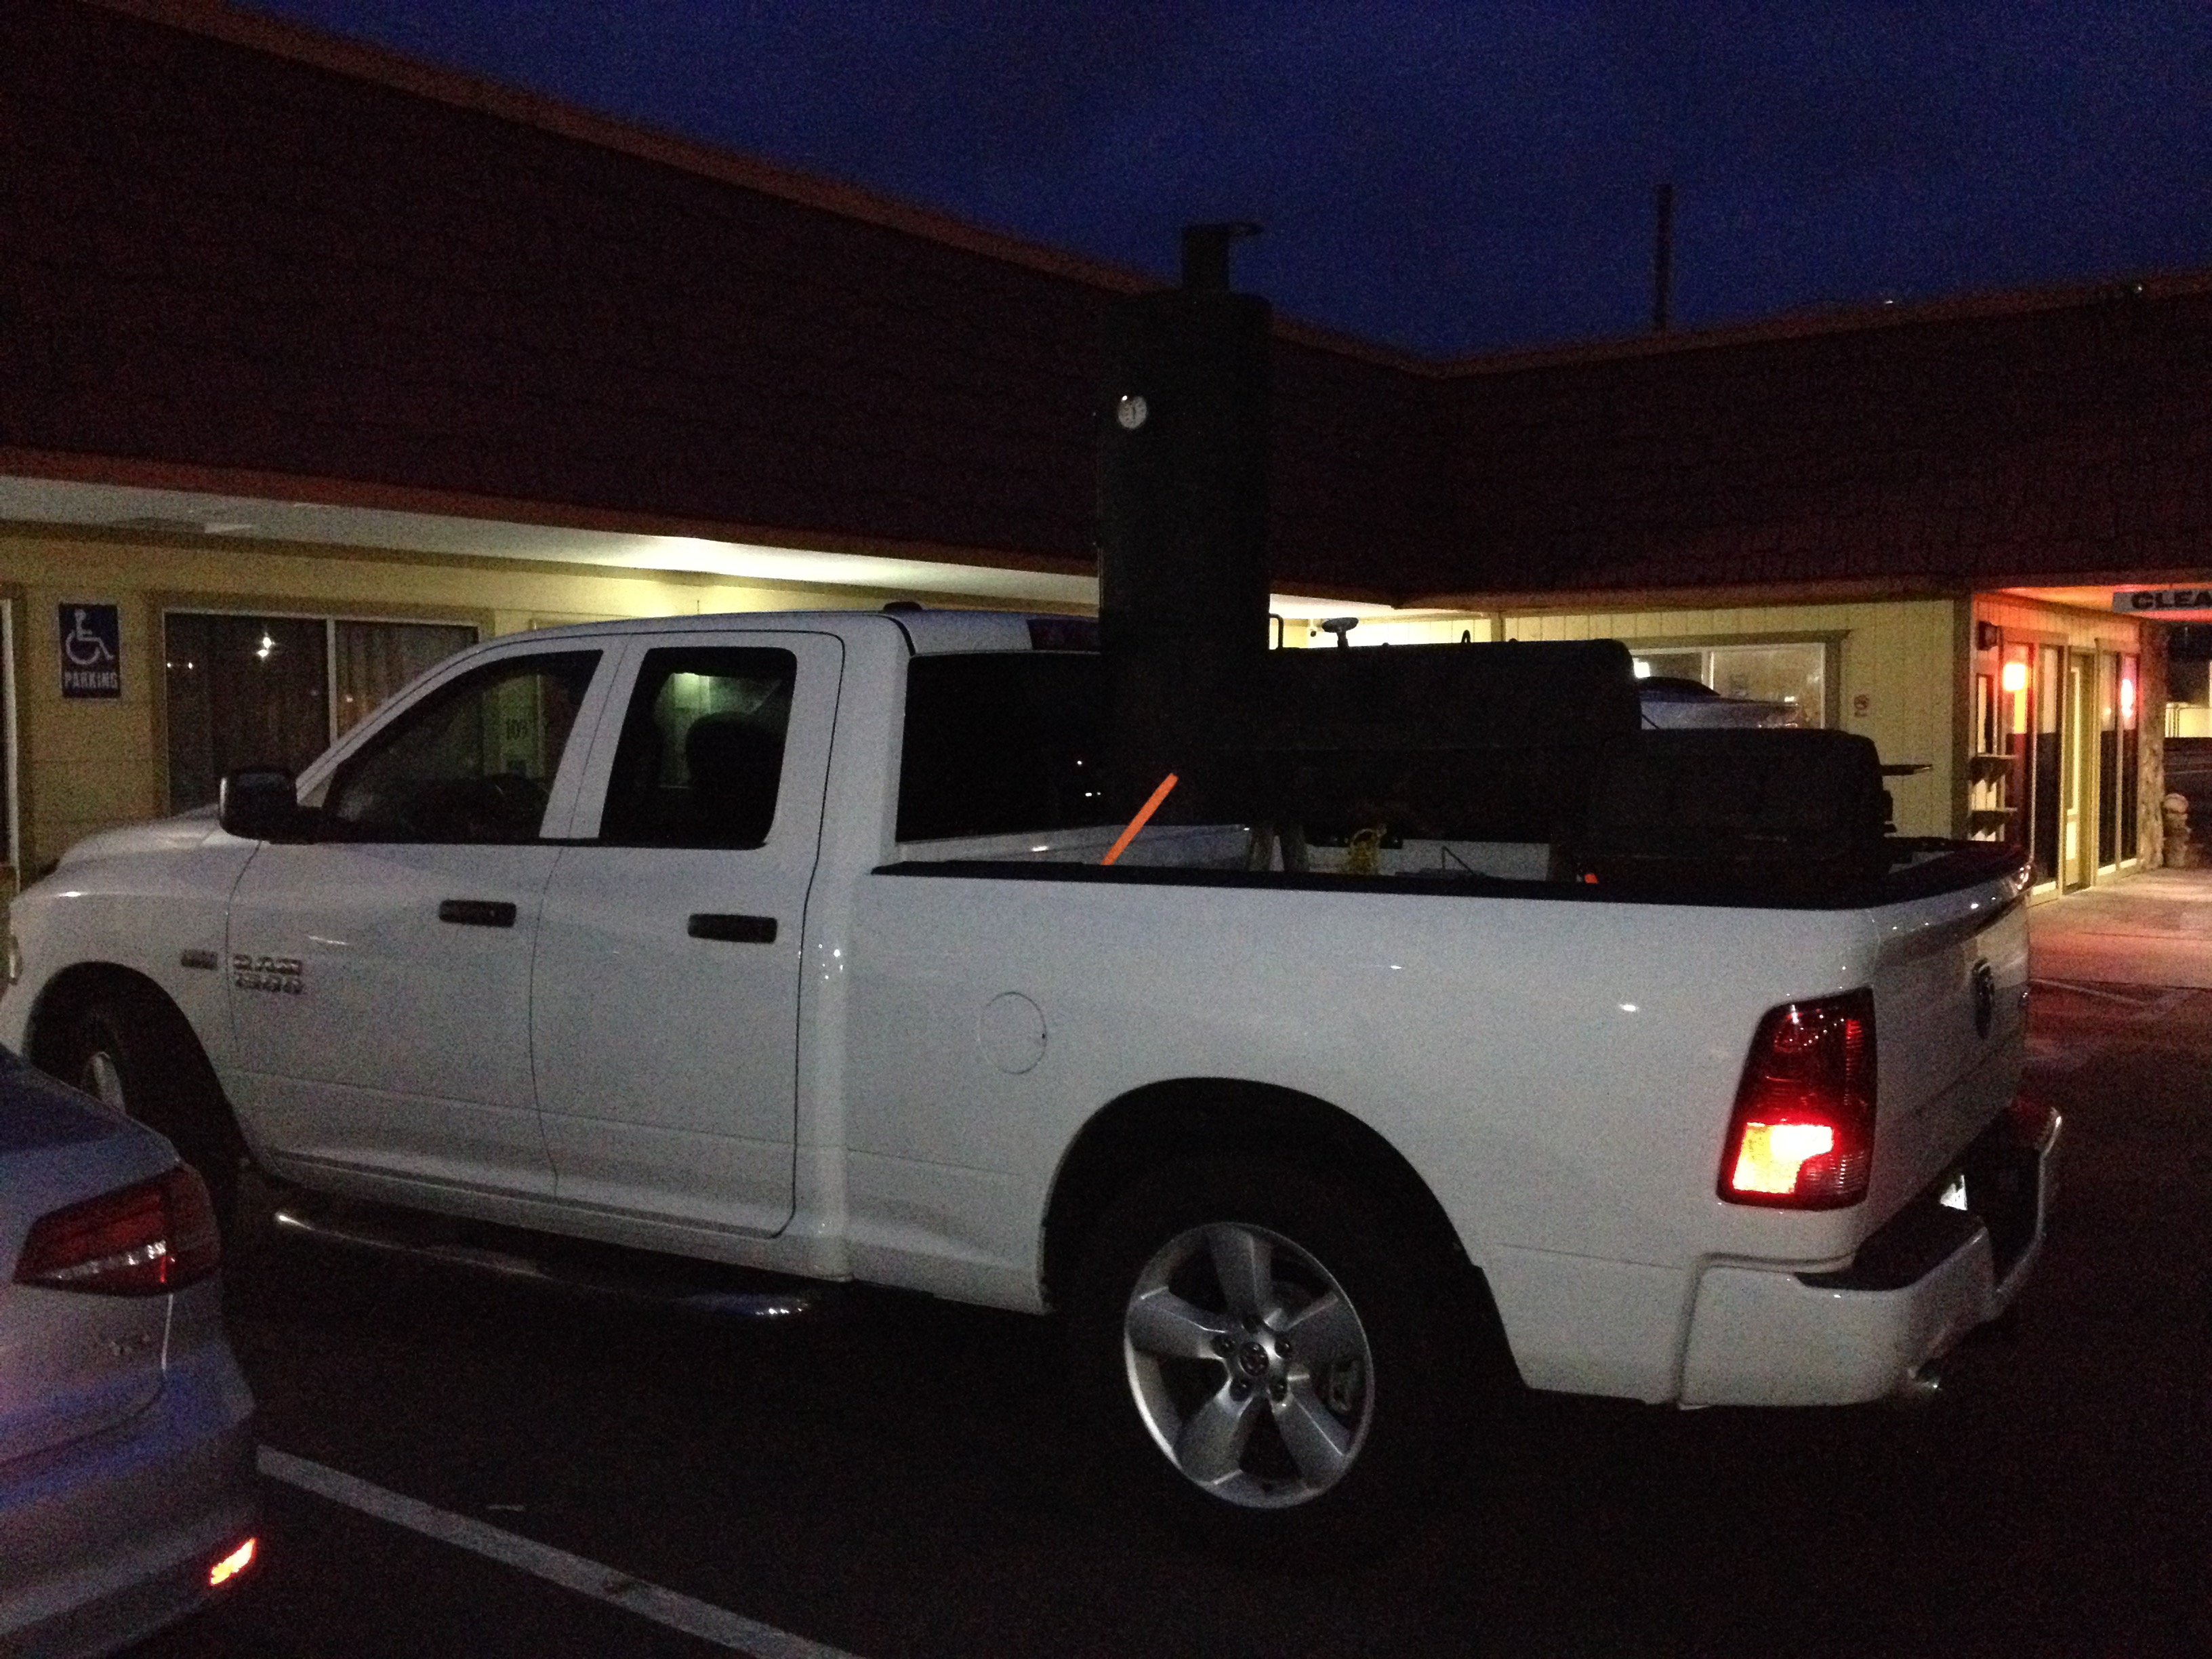
Once we were into Washington, we really made ground. Almost all our time was spent devising an engineering plan to convert Stanley into something that could be towed behind a car. Portability is a highly desirable thing if you want to drag pure masculinity to family and friends events. My brother Johnny has a LyfeTyme smoker that’s towable. Orcas is a relatively small island, but I’ll bet that trailer has more miles on it than Carter has pills. What, you didn’t get the reference? You can’t be even fifty then, so why are you reading about old farts and a Road Trip?
We made such good time that Jeff made the earlier ferry home. It was a very long 2 days, but it went by in a flash. Good times can sometimes be hard to come by, but If you build it, they will come. Told you.