
It has been a long, long time since we last posted. And a TON has happened. It will take quite a few posts to get it all brought up to date, so like eating dessert first for dinner we will start at the end.
We sold the 5th Wheel. And bought a boat. My older brother Brian told me this is one of the two happiest days of a boat owners life. I correctly guessed the other one, and you can too. Guess, that is, because if you haven’t owned one you will have to find out for yourself.
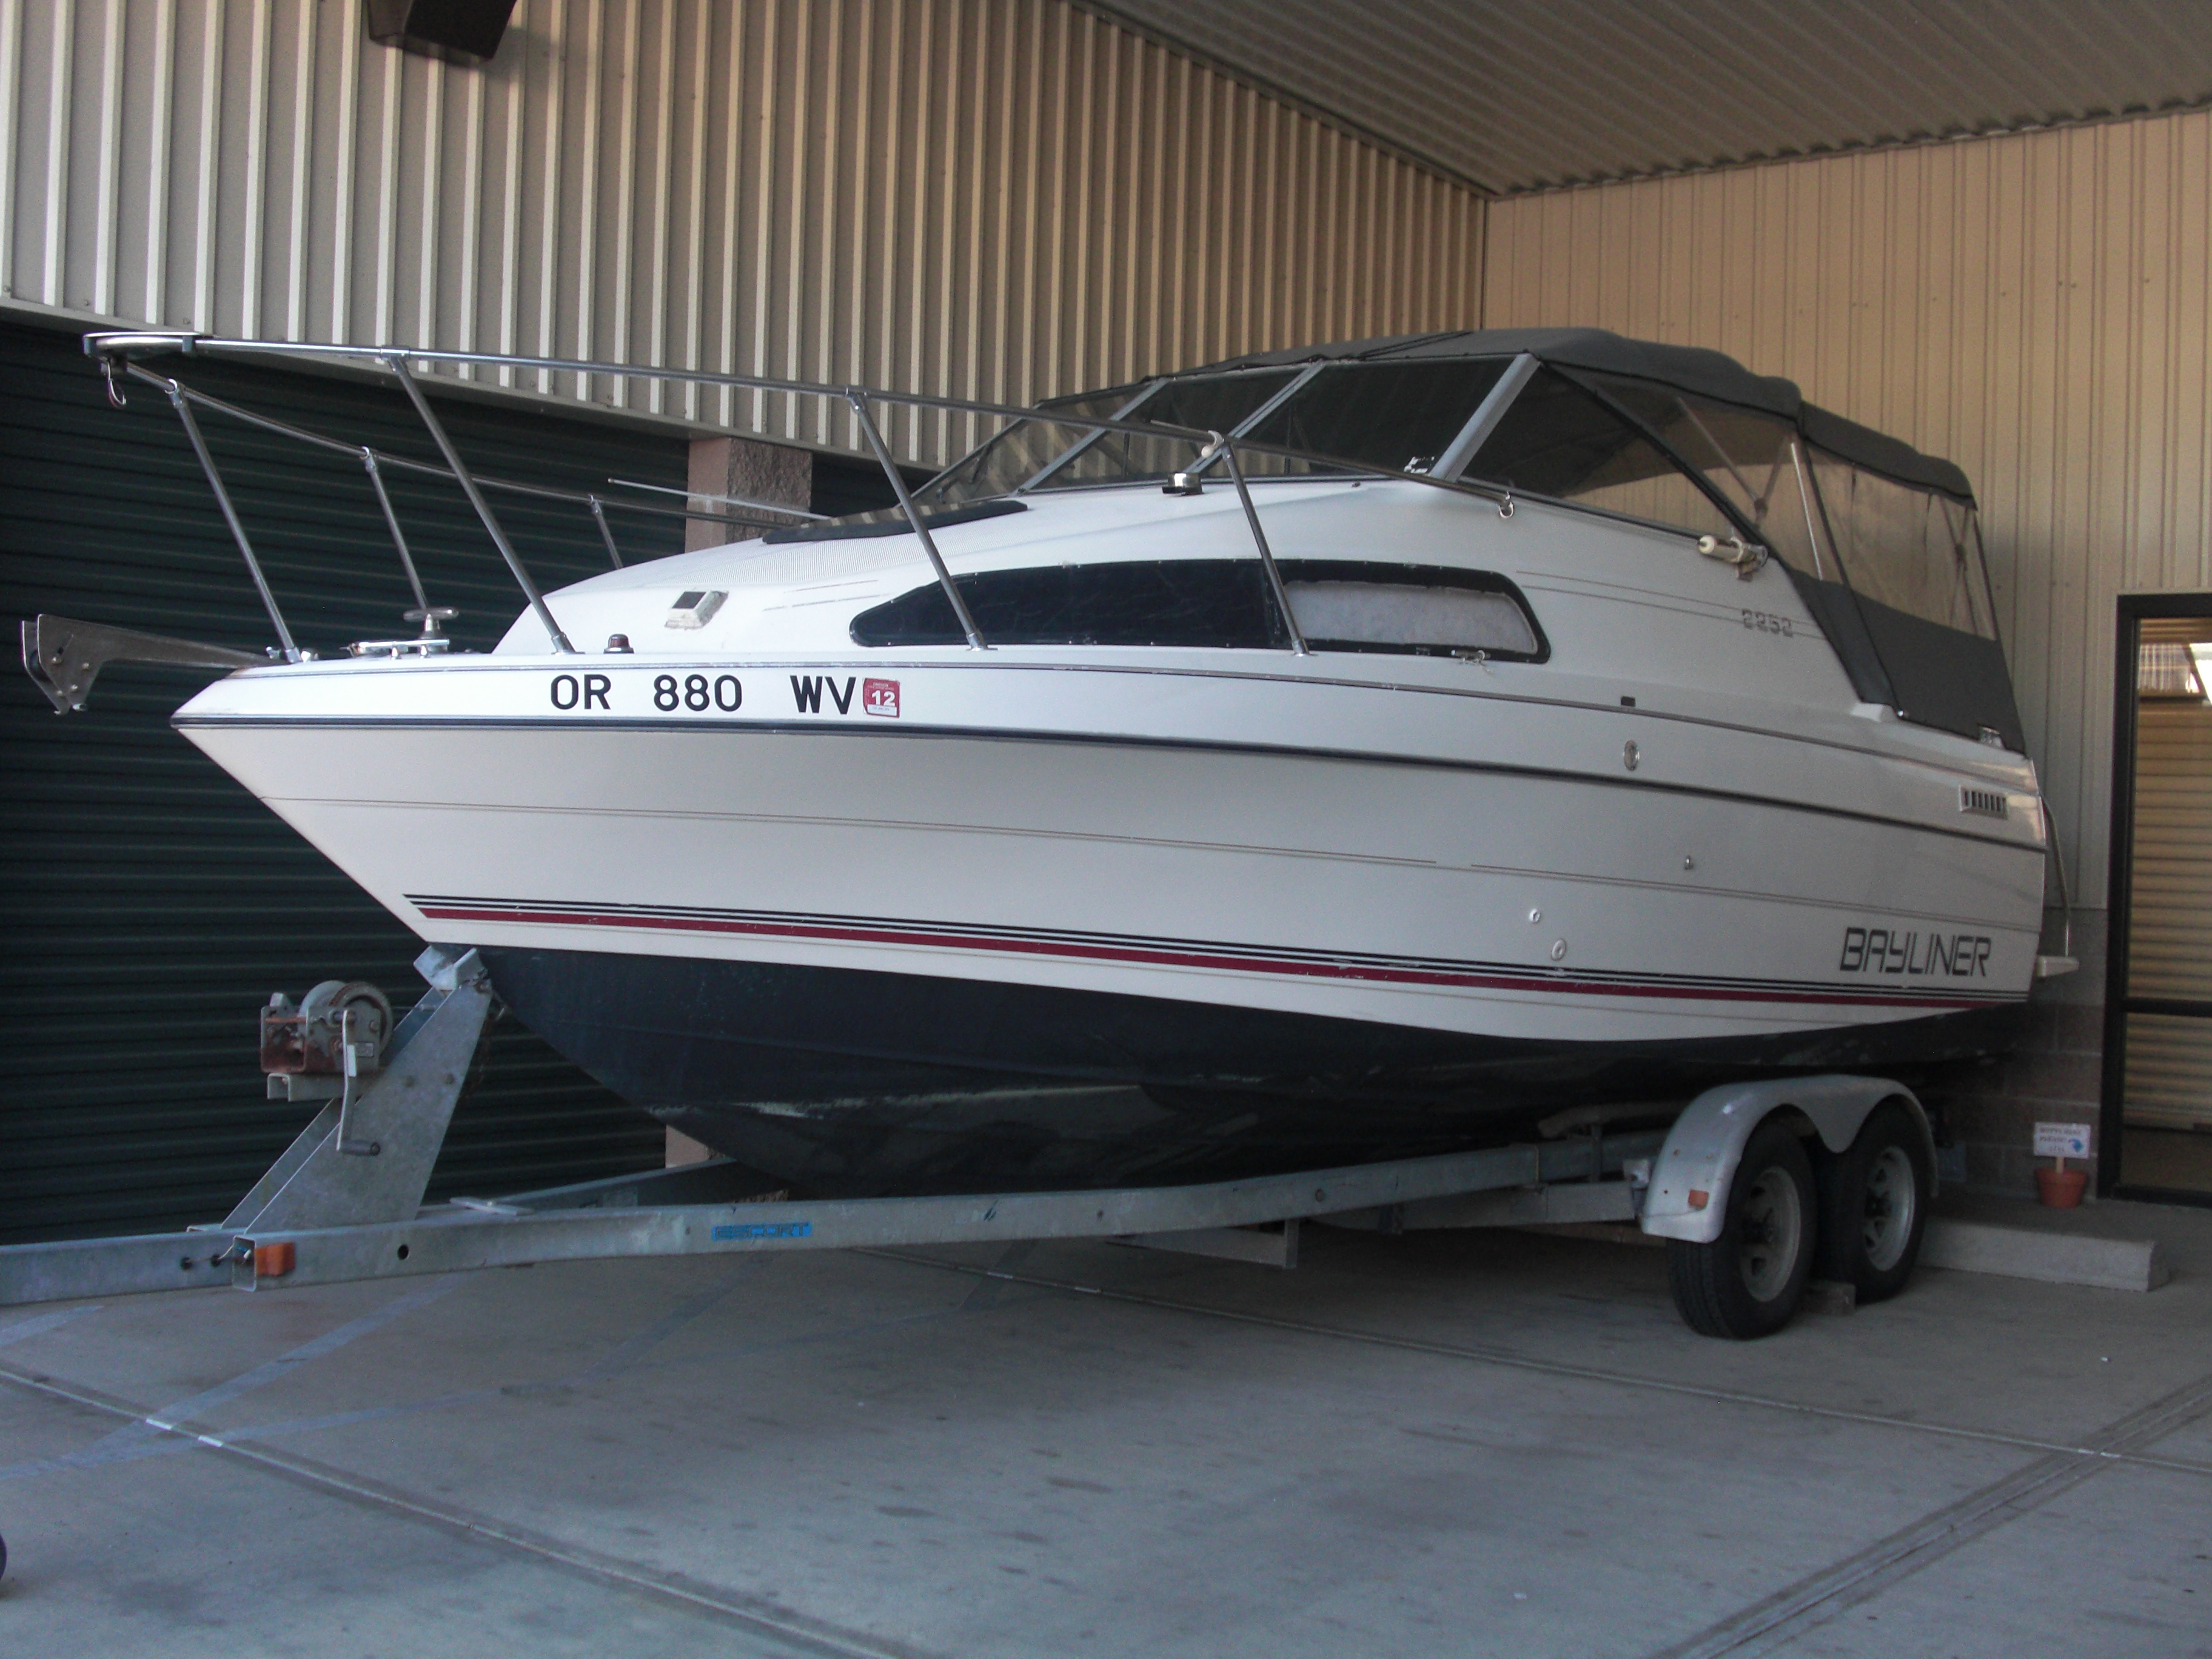
She’s a real beauty. A 23 ft. Bayliner Ciera combo cruising and fishing boat. In body she’s a 1992 model, and there are lots of little cosmetic things we are excitedly fixing or upgrading. But her bones and guts are spring-chicken young. A 16-hours-fresh new 4.3L Mercruiser with a just-as-fresh outdrive. Both of those were upgraded from the 1992 vintage to 1993, a big change that year produced a more powerful and fuel efficient engine and a much smoother and more efficient outdrive. Of course, we are rigging with all new critical gear: new fire extinguishers (4 in total), new life vests (in assorted sizes), a whole US Coast Guard distress signal package, all new rod holders, a brand new crab pot winch, brand new LED submersible trailer lights, replacing all the on-board lighting with LED lighting, a brand new anchor/chain/line, a brand new Lowrance E-5 DSI GPS/Sonar/FishFinder, and a bunch of other convenience stuff. And, of course, Wendy has reupholstered all the cabin cushions in a cheery blue and green pattern. She looks almost new! Meet GeeDub2. That’s long for GW and GW, which is short for Grandma Wendy and Grandpa Warren.
We are taking her on the maiden shakedown voyage the weekend after Father’s Day. Putting her in the water in Garibaldi (that’s in Tillamook Bay) and probably running up to Astoria for an overnight, then a little crabbing off the coast and some fishing too. We are very excited. The following weekend we managed to get 5 days in a row off, from Sunday June 30 through July 4. So we are schlepping GeeDub2 up to the Washington Park boat launch at Anacortes, plunking her in, and cruising over to Orcas to play with the family. If we have good crabbing on our upcoming Oregon Coast cruise, we’ll all be eating crab 2 weeks before the season opens in the San Juans. I don’t think we’ll have a problem finding some moorage…
We will have to resume telling our travel tales and adventures, and also filling you all in on the last 8 months since we left Park Sierra in Coarsegold and relocated to Hillsboro, Oregon just west of Portland. There is a lot to tell, a bunch of new additions to the clan, and plenty exciting developments. So stay tuned to the old Muddscape. Don’t touch that dial!


-
Join 56 other subscribers
Search the Archives
-
Recent Posts
- Salute to 250: Reaper (not Grim) and the Atomic Bombing of America, Florence South Carolina, and Happy 250th Birthday America!
- Salute to 250: Revolutionary War Women Legends, and It’s NOT Stawnton
- Salute to 250: The Full Eclipse Battle of Monmouth, and 𝅘𝅥𝅮 𝅘𝅥𝅮 iron and coke, chromium steel 𝅘𝅥𝅮 𝅘𝅥𝅮: Allentown PA (with a nod to Billy Joel)
- Salute to 250: Family Supplement, Lost River Gorge and Covered Bridges
- Salute to 250: The Land of Maple Syrup, Vermont, and Molly Stark, American Heroine
Muddscape Tweets
Tweets by muddscapeArchives
- July 2026 (1)
- June 2026 (14)
- May 2026 (2)
- June 2025 (1)
- May 2025 (3)
- June 2023 (1)
- May 2023 (1)
- January 2023 (1)
- November 2022 (1)
- October 2022 (1)
- August 2022 (1)
- July 2022 (2)
- June 2022 (6)
- May 2022 (16)
- February 2022 (1)
- December 2021 (1)
- March 2021 (1)
- January 2021 (1)
- December 2020 (1)
- August 2020 (1)
- May 2020 (1)
- April 2020 (3)
- March 2020 (7)
- December 2018 (1)
- October 2018 (1)
- September 2018 (1)
- August 2018 (1)
- July 2018 (2)
- June 2018 (6)
- May 2018 (1)
- April 2018 (2)
- March 2018 (1)
- June 2015 (1)
- May 2015 (3)
- March 2015 (1)
- January 2015 (1)
- June 2013 (1)
- January 2012 (1)
- December 2011 (2)
- September 2011 (2)
- August 2011 (3)
- June 2011 (1)
- May 2011 (8)
- April 2011 (5)
- March 2011 (5)
- February 2011 (5)
- December 2010 (3)
- November 2010 (6)
- October 2010 (5)
- September 2010 (4)
- August 2010 (1)
- July 2010 (3)
- June 2010 (5)
Categories
Meta
Past Blog Archive
