
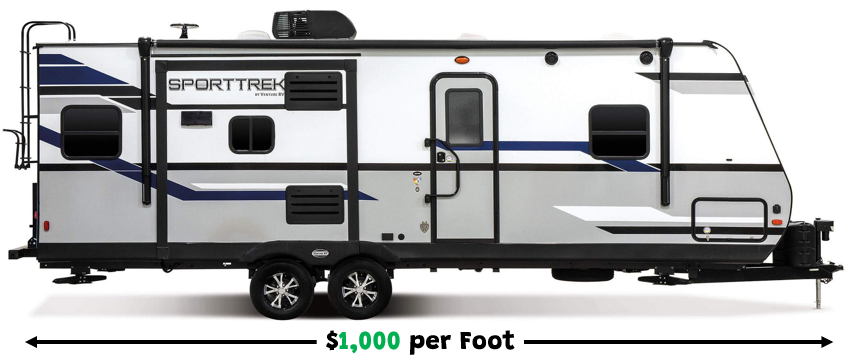
It’s hard to believe we’ve had our “new” trailer for 8 years already. When we bought it, we were focused on three things: it had to accommodate our 3-generation campers (total of 4 adults, 2 kids); it had to have a bathroom that I could get to multiple times a night without waking everyone else; and it had to be affordable enough to pay cash for it. We got everything we were looking for and a bunch of stuff that just goes along with “affordable enough”, like construction and materials quality that looks good but doesn’t pass a deep dive inspection. We knew this from the get-go, and bought into it anyway because we are dyed-in-the-wool DIYers, and we figured we could reinforce, fix, or replace anything that went wrong along the way. And, to be honest, in the excitement of having a brand new “Plan B” home, we very well might have overlooked how “lightweight” some of the construction was. Don’t get me wrong, we LOVE our rig, it is just that you get what you are willing to pay for.
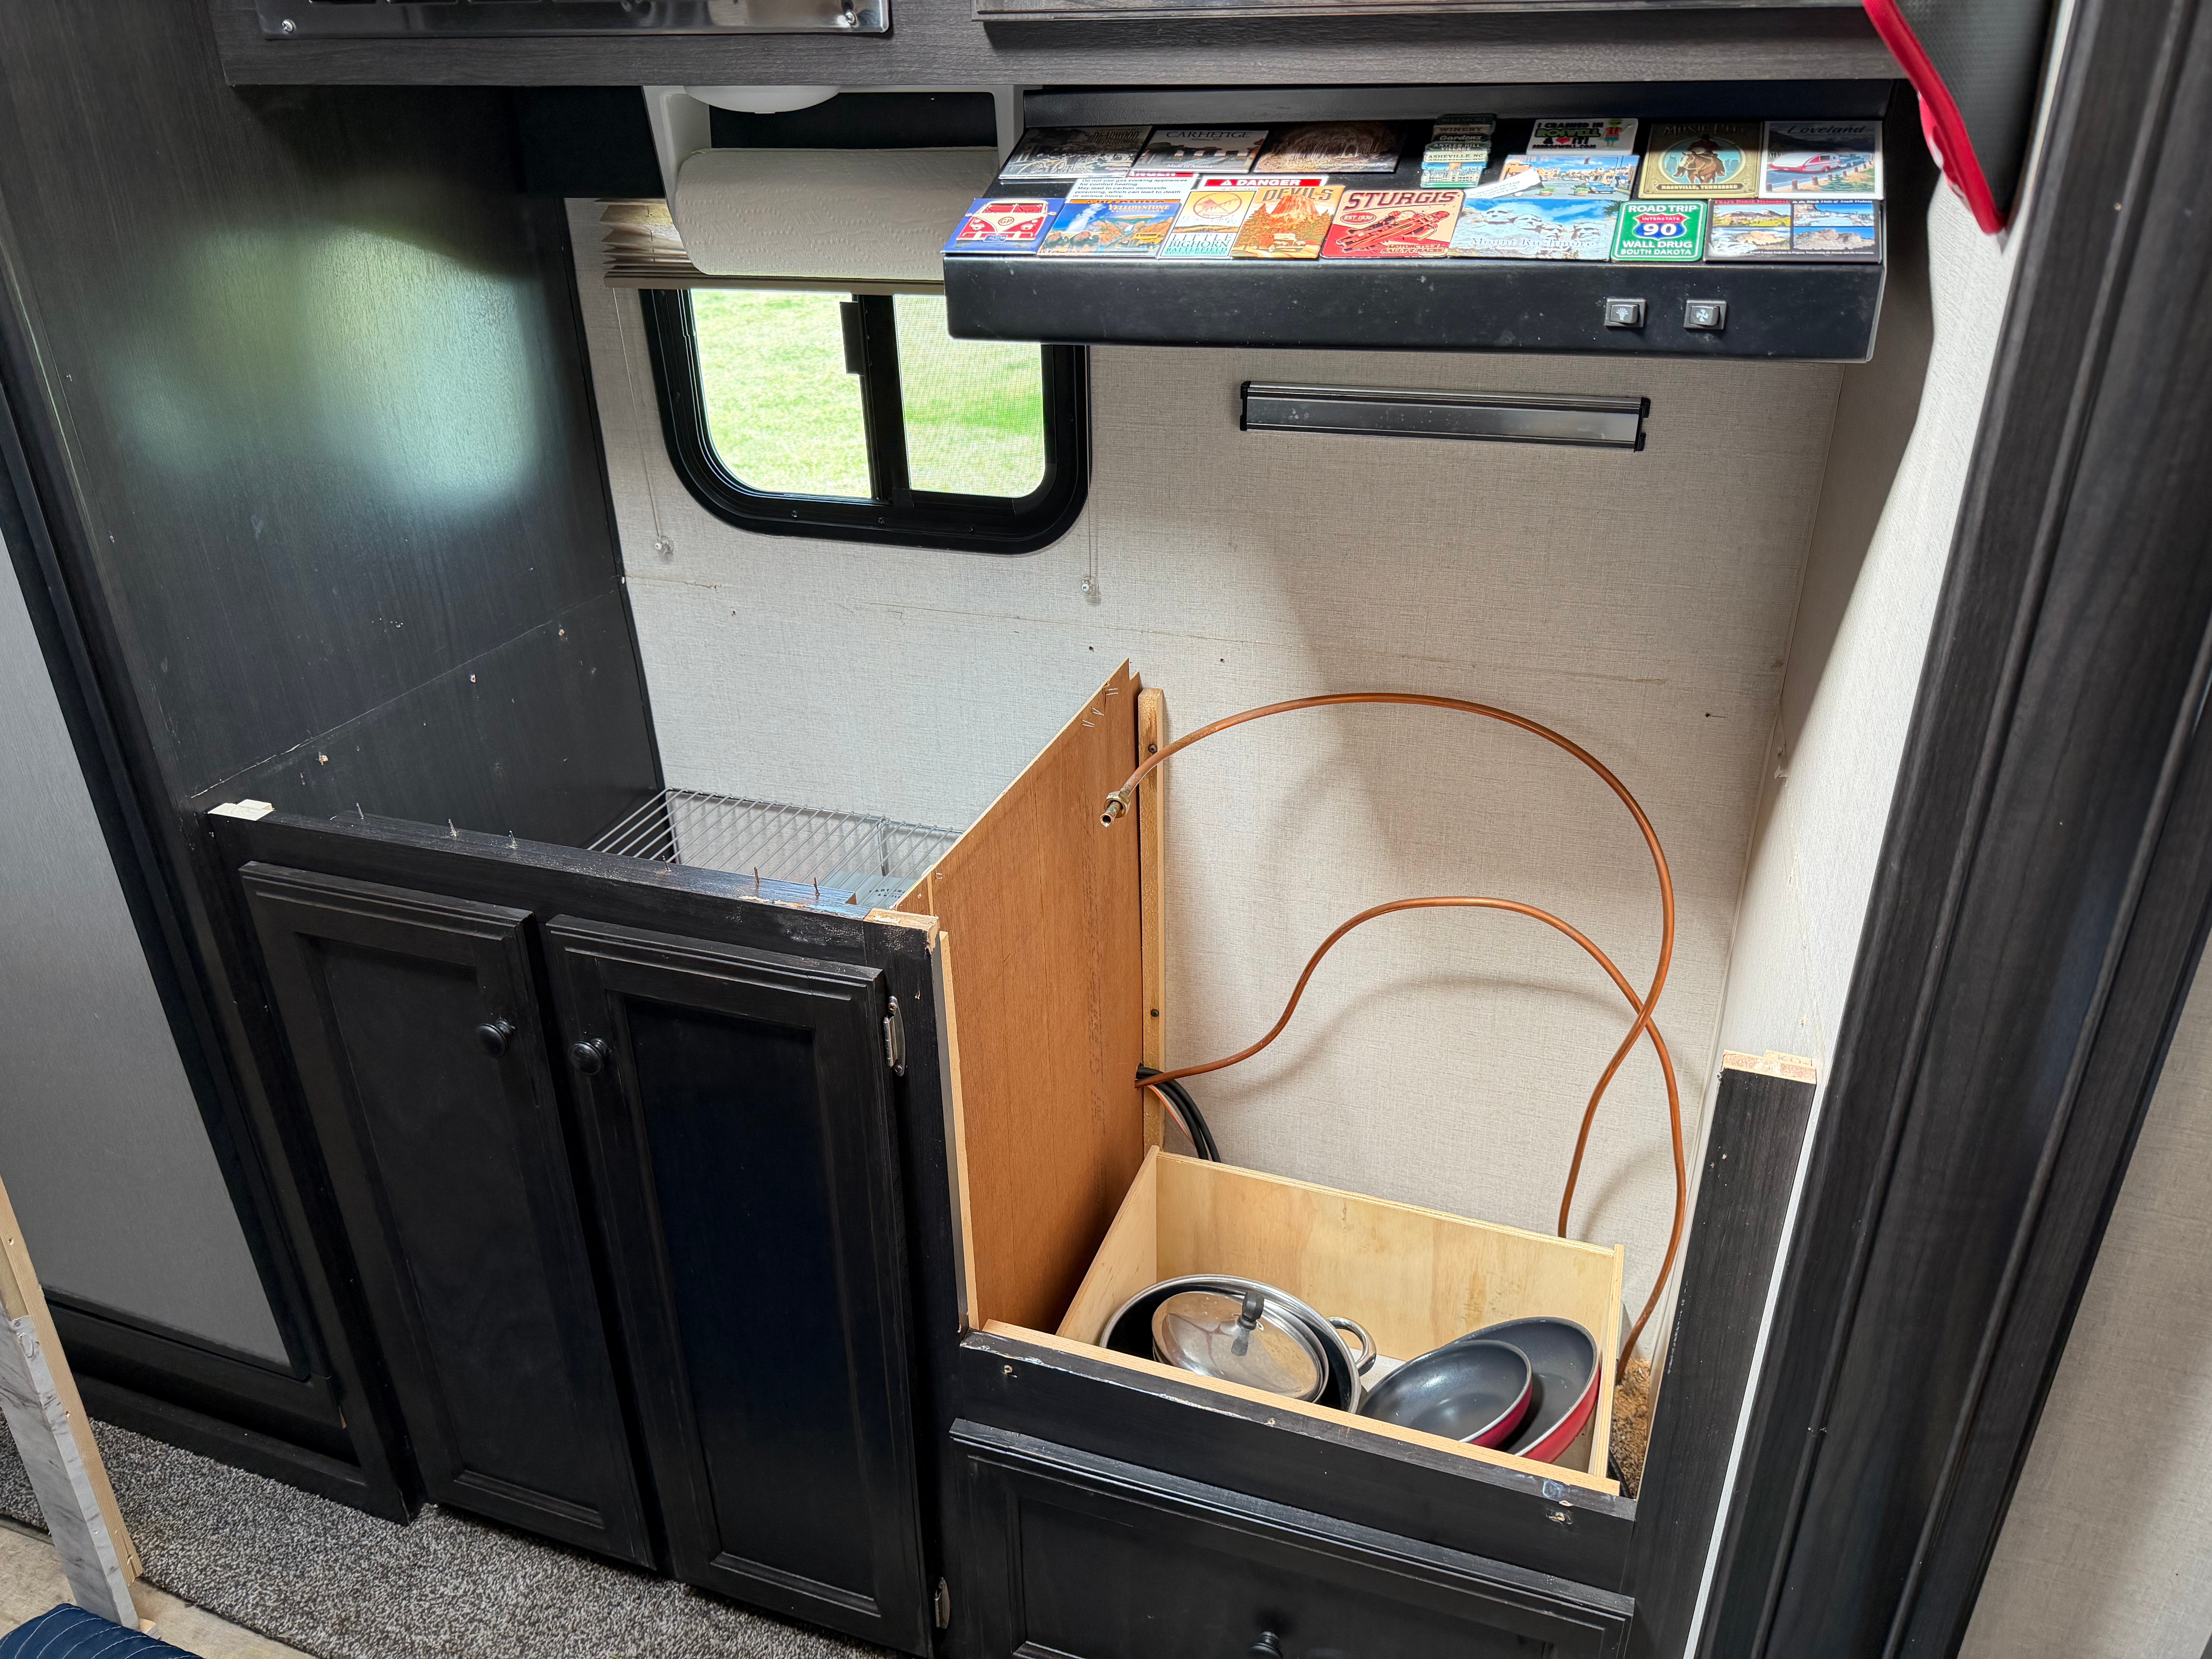
To our surprise, it has held together very well considering the amount of road that has passed below it and the freezing and roasting temperatures we subject her to. But time has not been friendly. The most obvious visual indicator was the laminate used to cover the counter tops, which were constructed out of 5/8” MDF board with heat-and-vacuum-applied plastic laminate covering. When brand new they looked fabulous, but the summer heat here in Florida turns the inside into a pottery kiln in the storage lot, and the plastic laminate reacts by shrinking just enough to pop loose and pull up around the edges. Put this next to a kitchen sink, and it isn’t long before the MDF begins to act like a sponge.
Needless to say, it was beginning to get on our nerves. We are planning a month-long trip this summer, and when we took our annual weeklong Christmas trip this year, it became too much and we resolved to replace the counter tops. Laminate was out, butcher block was in. Amazingly, the difference in weight between them is only a couple of pounds, and finally delamination is a thing of the past, at least for the countertops.
We have 2 countertops and one table to deal with, like this:
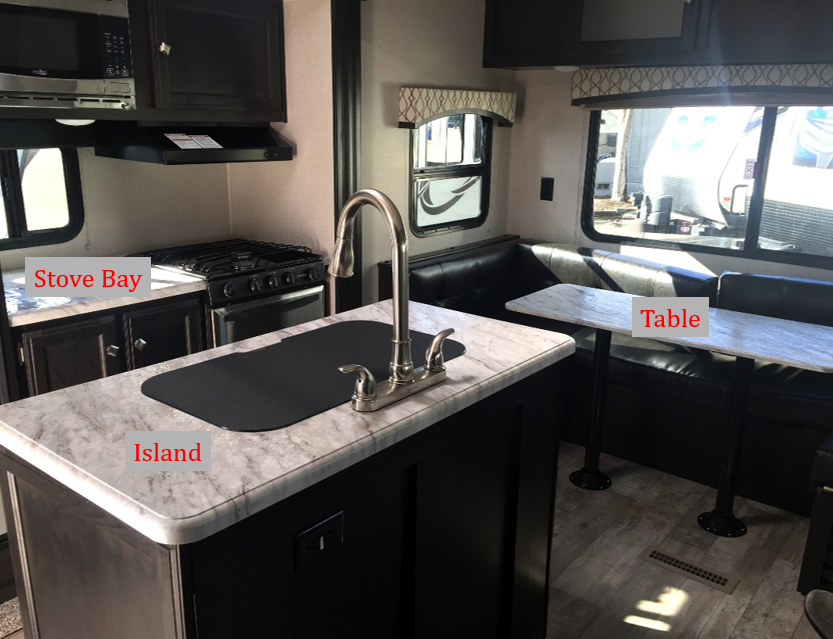
Preparation was straightforward. For the island, get underneath and remove all of the screws holding the countertop down, disconnect the sink water supply lines and drain, and lift it off with the sink and faucet attached. This was the toughest uninstall because of the tight clearances between the faucet and the cabinet, but thank God the fittings are only finger-tightened on install (remember this when YOU reinstall).
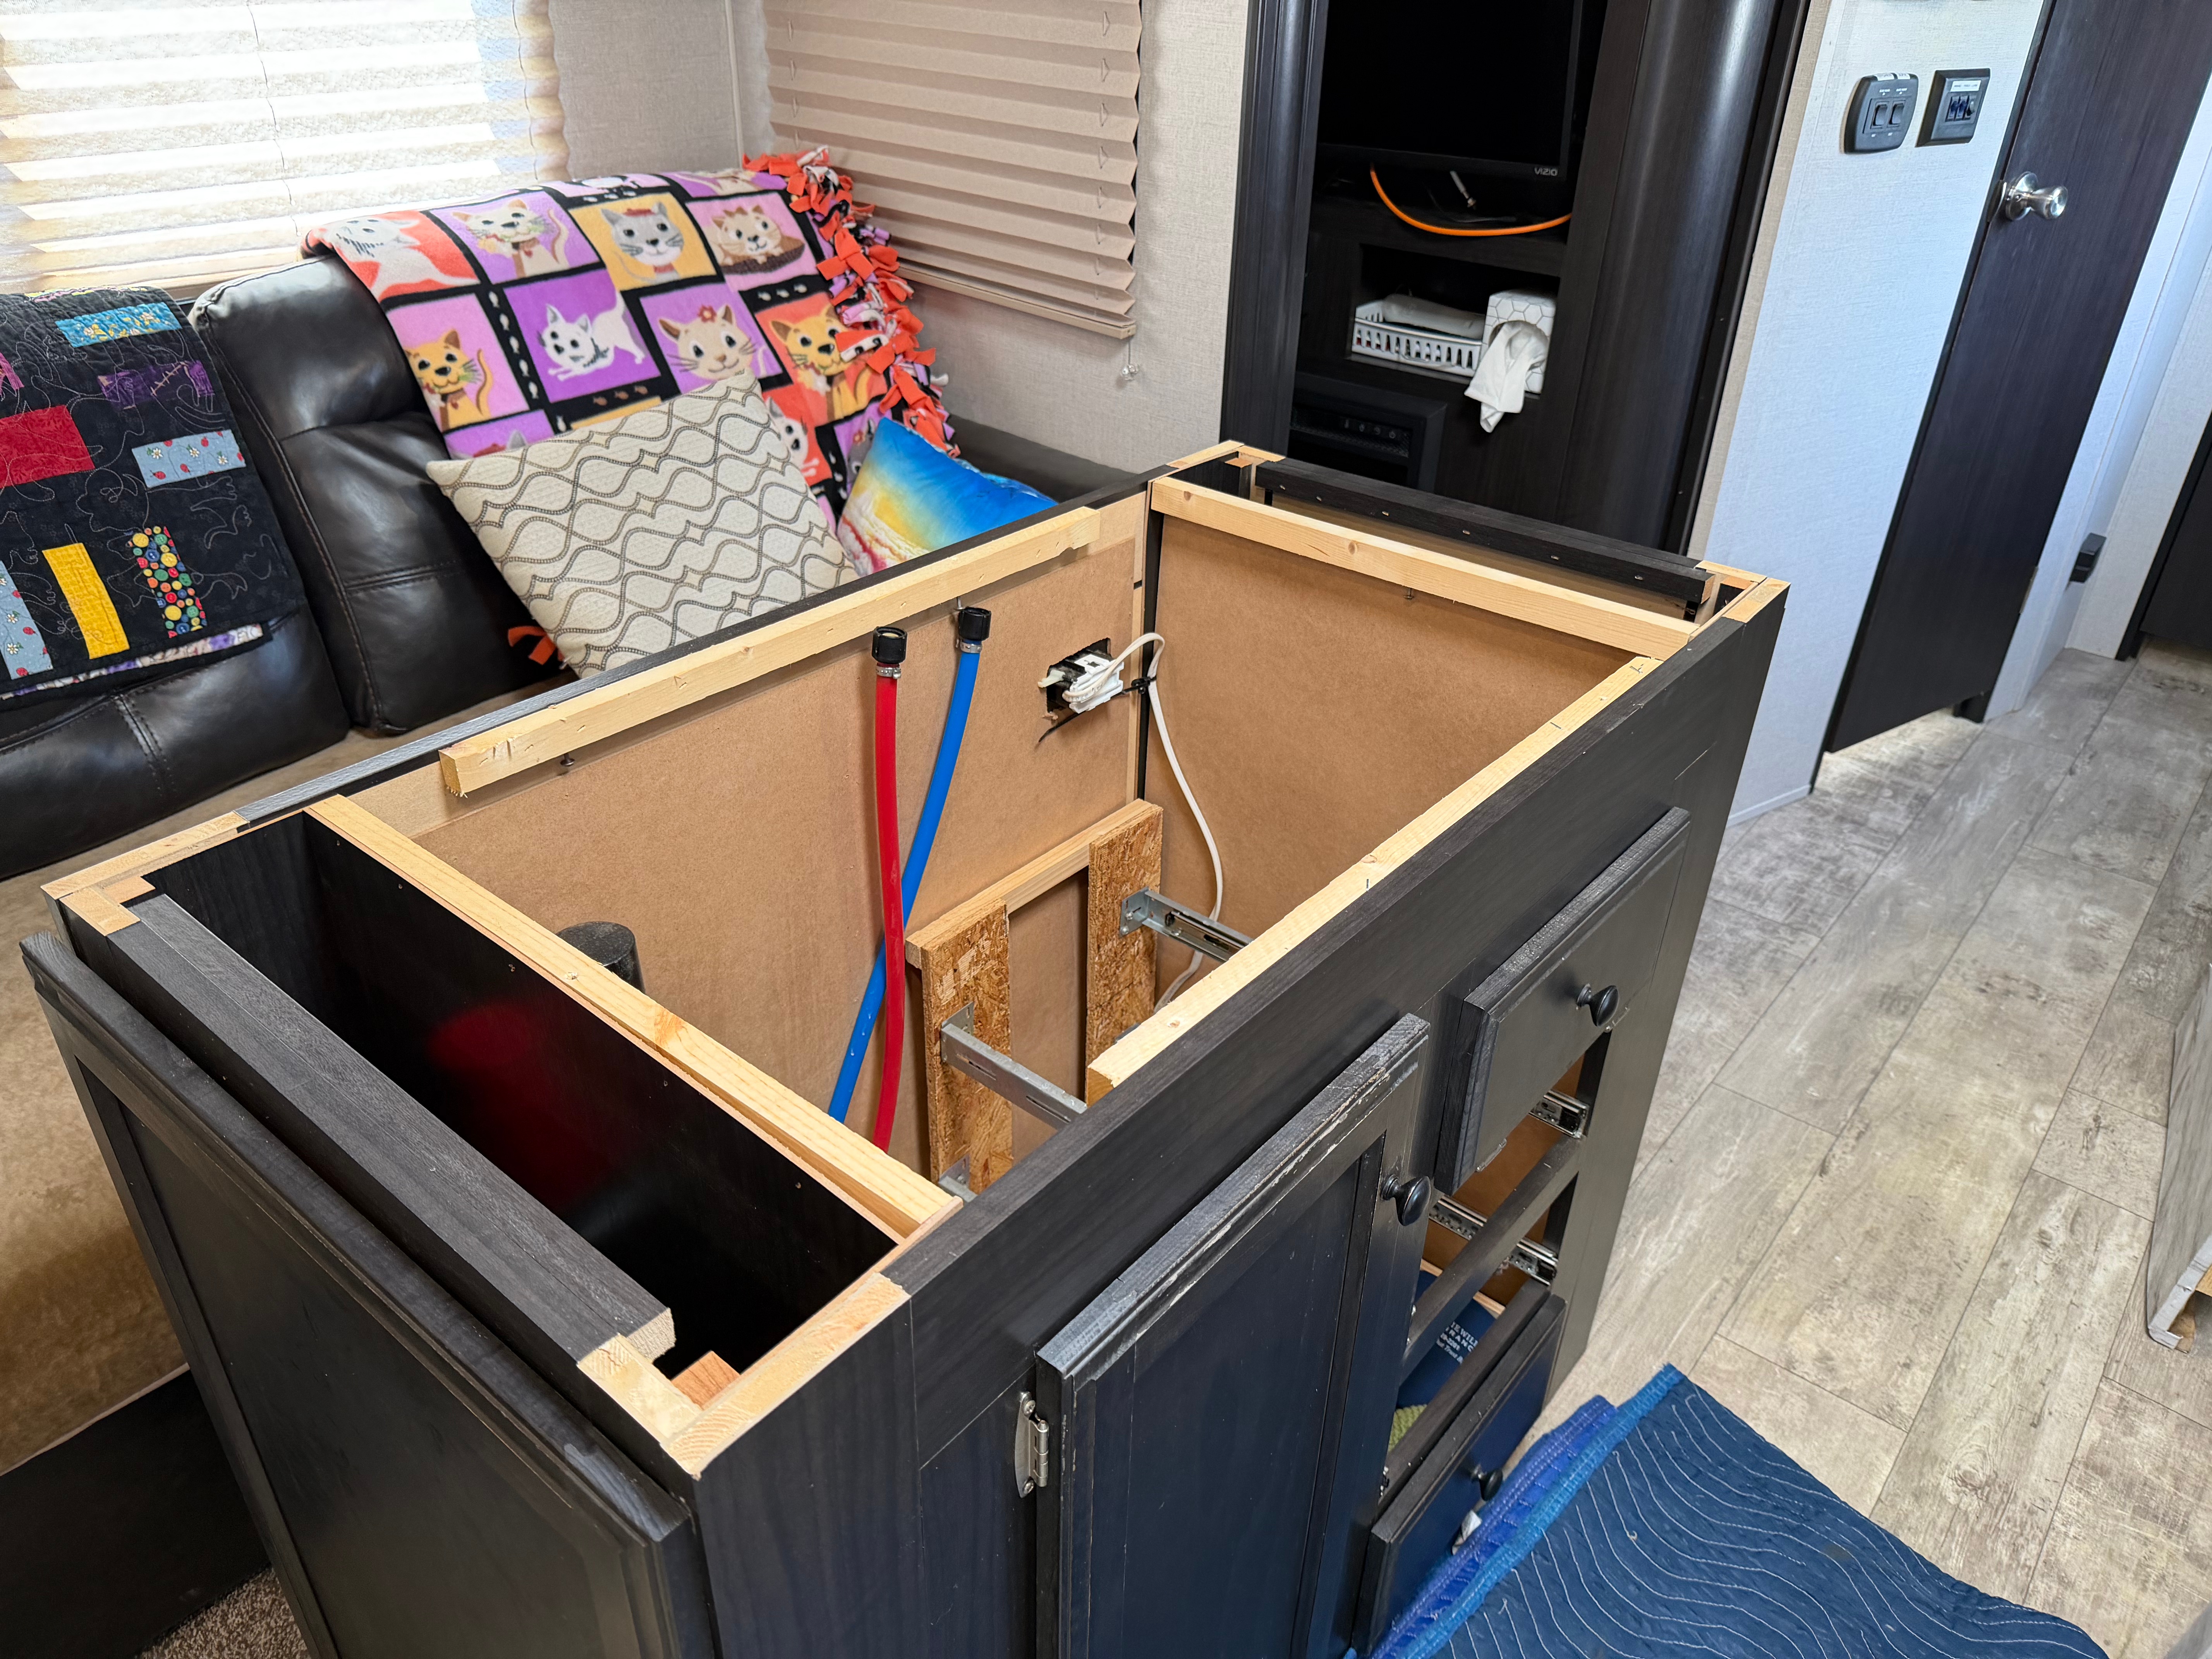
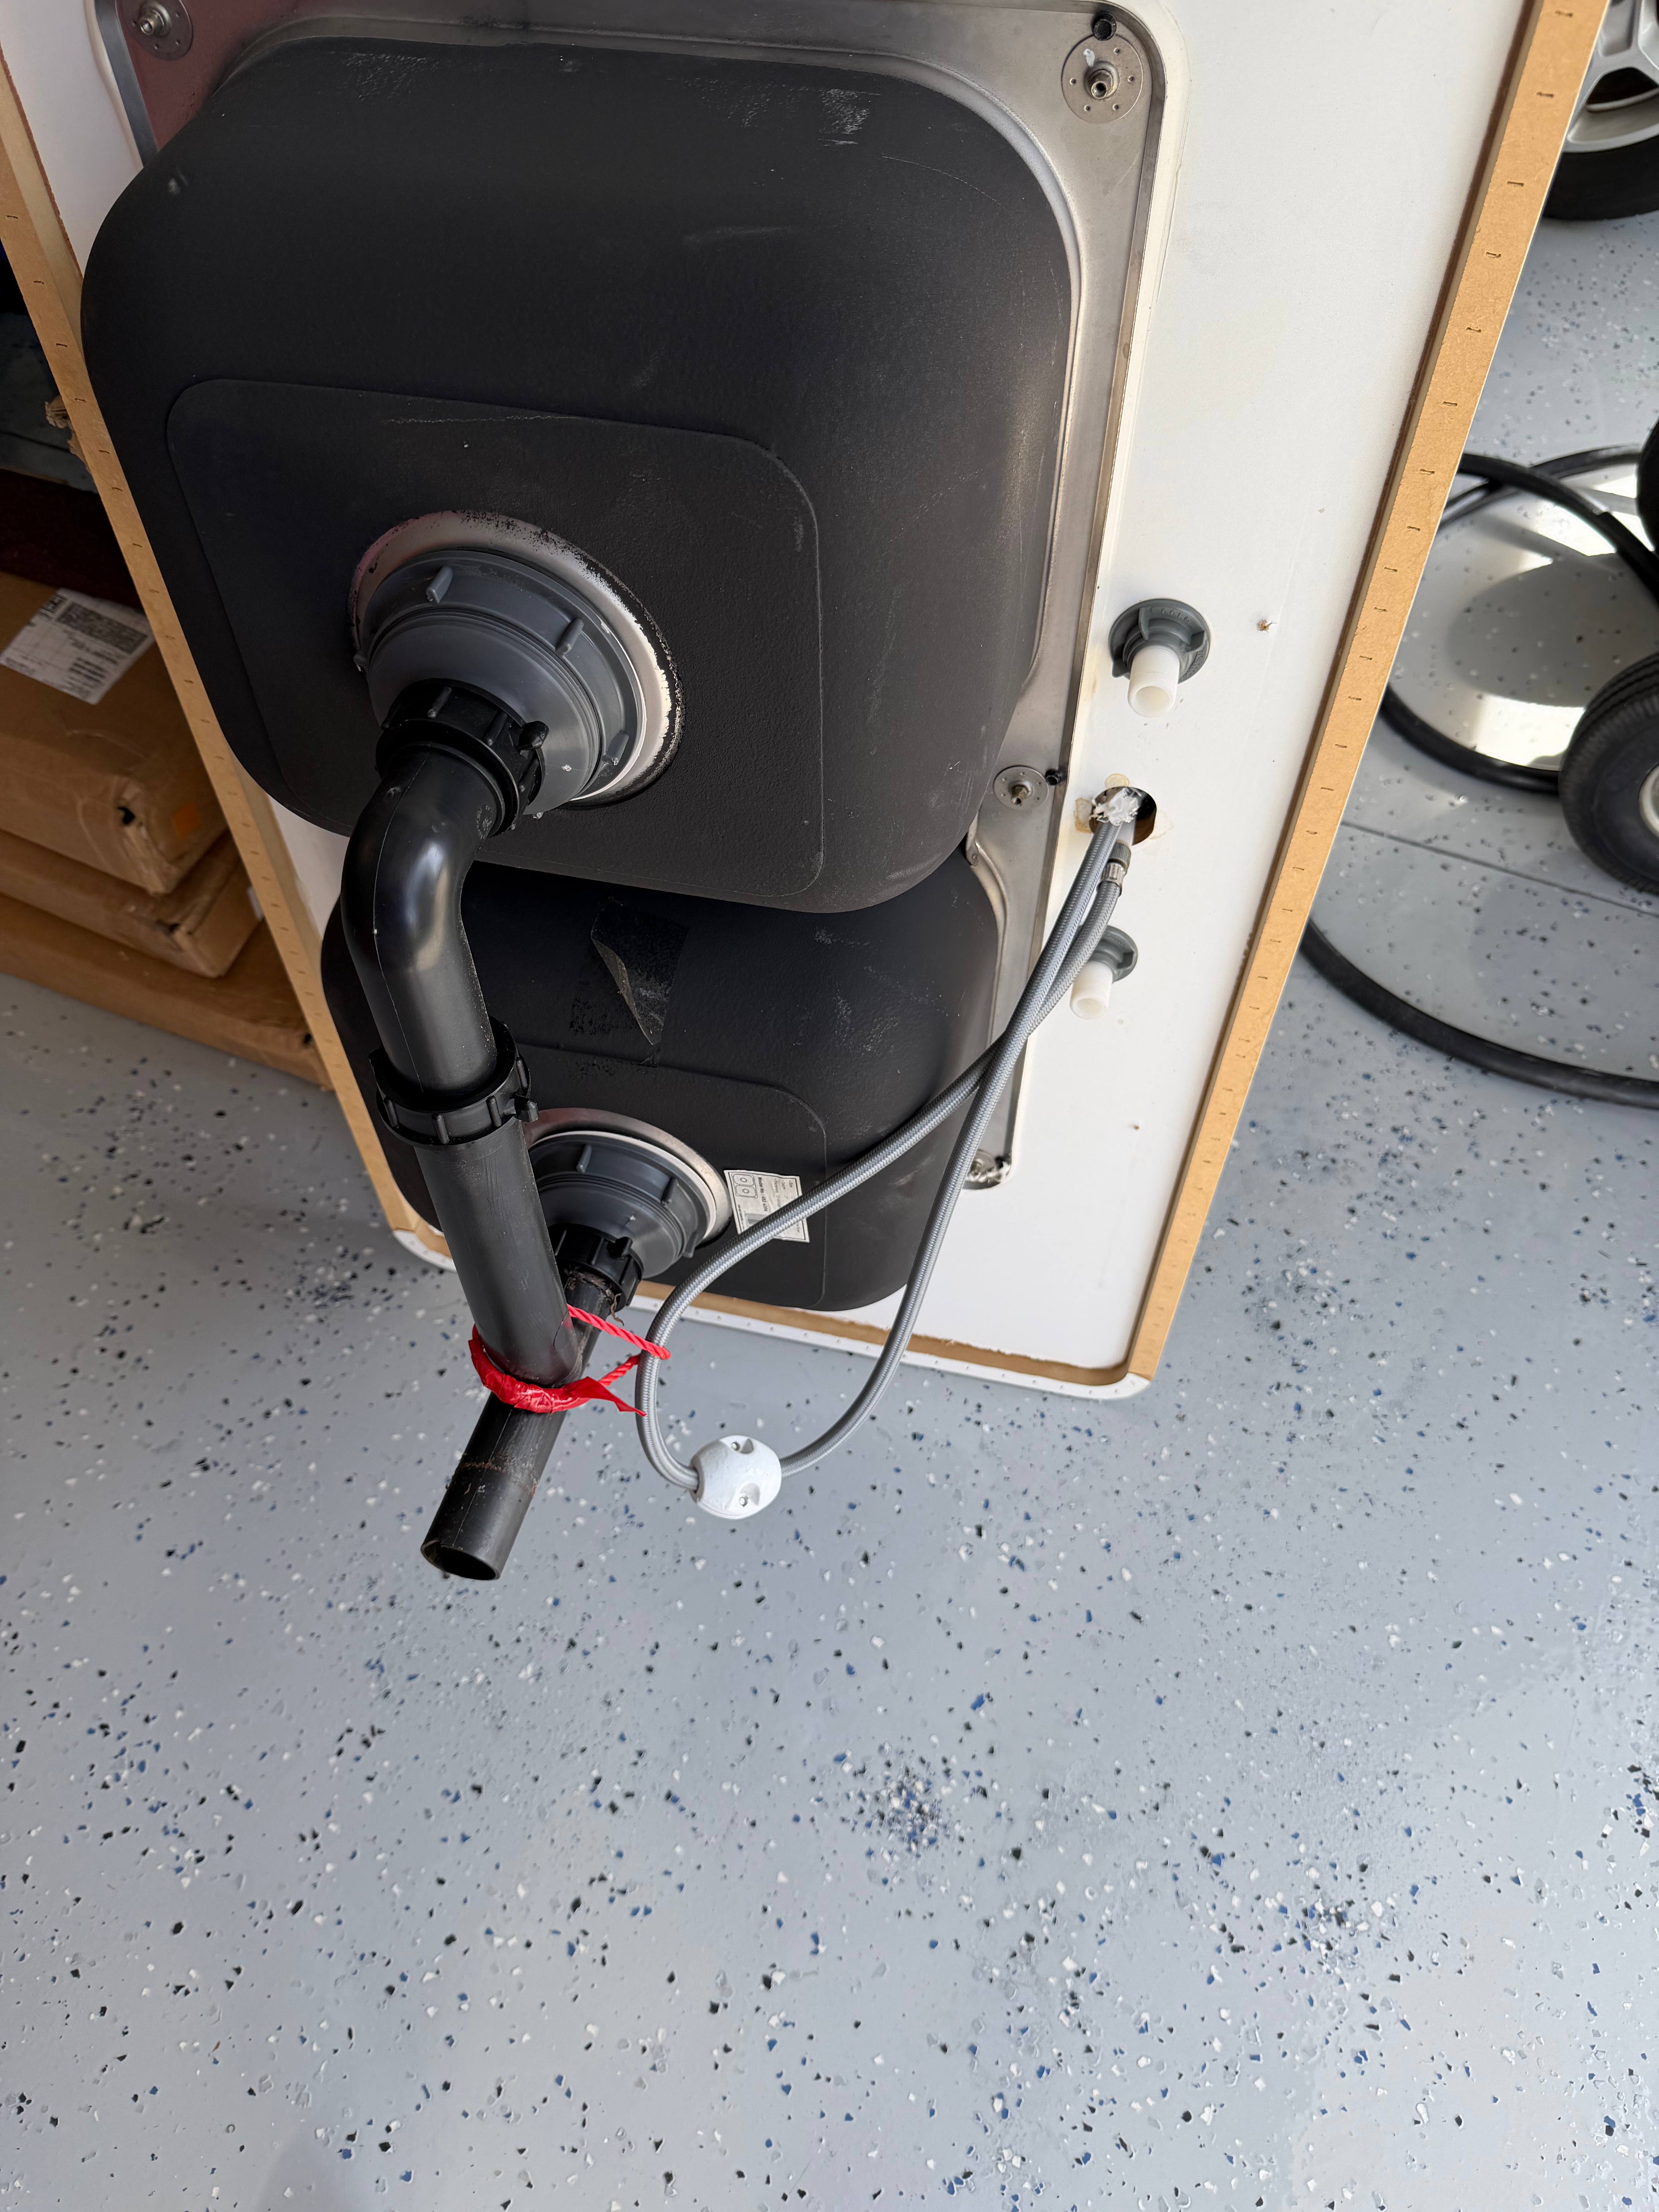
NOTE: When removing the sink from the old countertop (ours was installed from the bottom of the countertop), notice all of the steps taken during construction to seal it up. Ours had a substantial bead of caulking between the sink flange and the underside of the countertop, so we kept that same process for reinstalling the sink to the new top. And in addition, we added a bead of silicone sealant to the seam from inside the sink.
The stove bay was similar: after removing the stove (pretty easy actually, just remove a few screws, disconnect the propane, and pull it out), get all the underside screws out of the countertop and pull it loose.
The table was a snap, just flip it over and remove all the hardware on the bottom that holds the posts. The first big reconstruction question: what type of countertop material, and where would we get it? It was much easier than we had anticipated. Amazon! We settled on 1” thick Hevea butcherblock planks (https://www.amazon.com/dp/B0F3HCQPWF).
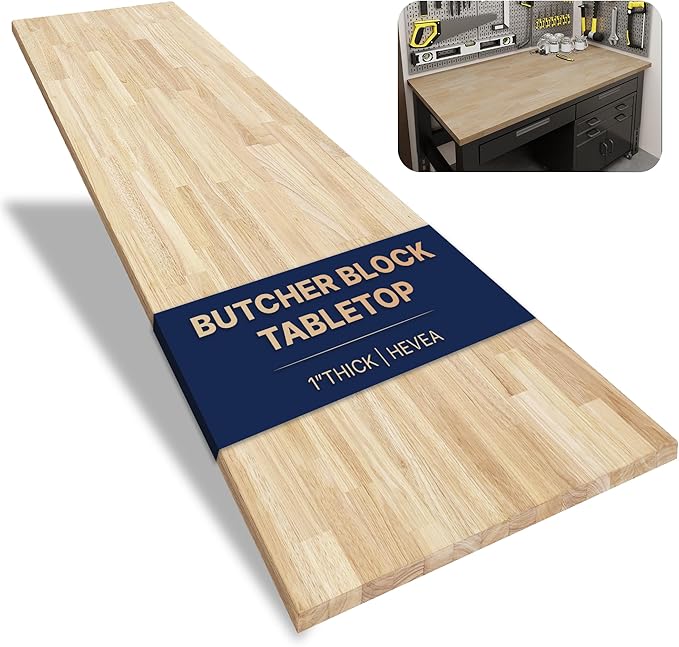
Hevea is a fast growing hardwood that has a similar look to maple, but much better workability and somewhat lighter. Our project conveniently required (3) 48” x 25” planks, one for the table, one for the stove bay, and one for the island, but they come in a large variety of sizes. They also come in unfinished (our choice) and Honey finished. These also allowed us to extend the island by 3” (1 ½” on each end, much needed space), and the slight increase in thickness didn’t present any problems with reinstalling the sink, faucet or stove. The planks, sold as “countertops for standing desks”, were shipped for free right to our door. I probably could have had our Amazon dude put them right into the shop for me if I’d been home.
We literally traced the old tops onto the new ones and used a power saw and scrolling saw to cut them to width, length and to remove the cutouts. A belt sander cleaned up the cut edges, and a palm sander got the surfaces smooth for finishing. Don’t cut corners on the sanding, from experience this is the best investment you can make, and in my opinion one of the two main differences between “just OK” and fine woodworking (the other is cut precision). Use coarse grades before fine grades, we finished with 150 grit before applying the stain. (NOTE: we “recycled” the cutouts by repurposing them for 1 other project, a rolling cart top, and creating a great “pounding board” for my shop!). All that was left was sawdust and small scraps. Also note, if there were strips attached to the bottom of your counters, remove them and reattach them to your new counters, your mounting holes might just match up (ours did!).
NOTE: when removing the old tops, especially in a space where the top fits precisely between the walls like our stove bay, look to see how much leeway you have on the length measurement, and don’t be afraid to give yourself a significant amount of that to make reinstallation easier. We caulked (clear silicone) around the edges in the stove bay to make sure they were sealed, and having a little space there made sure to get the seal down to where it does its best work.
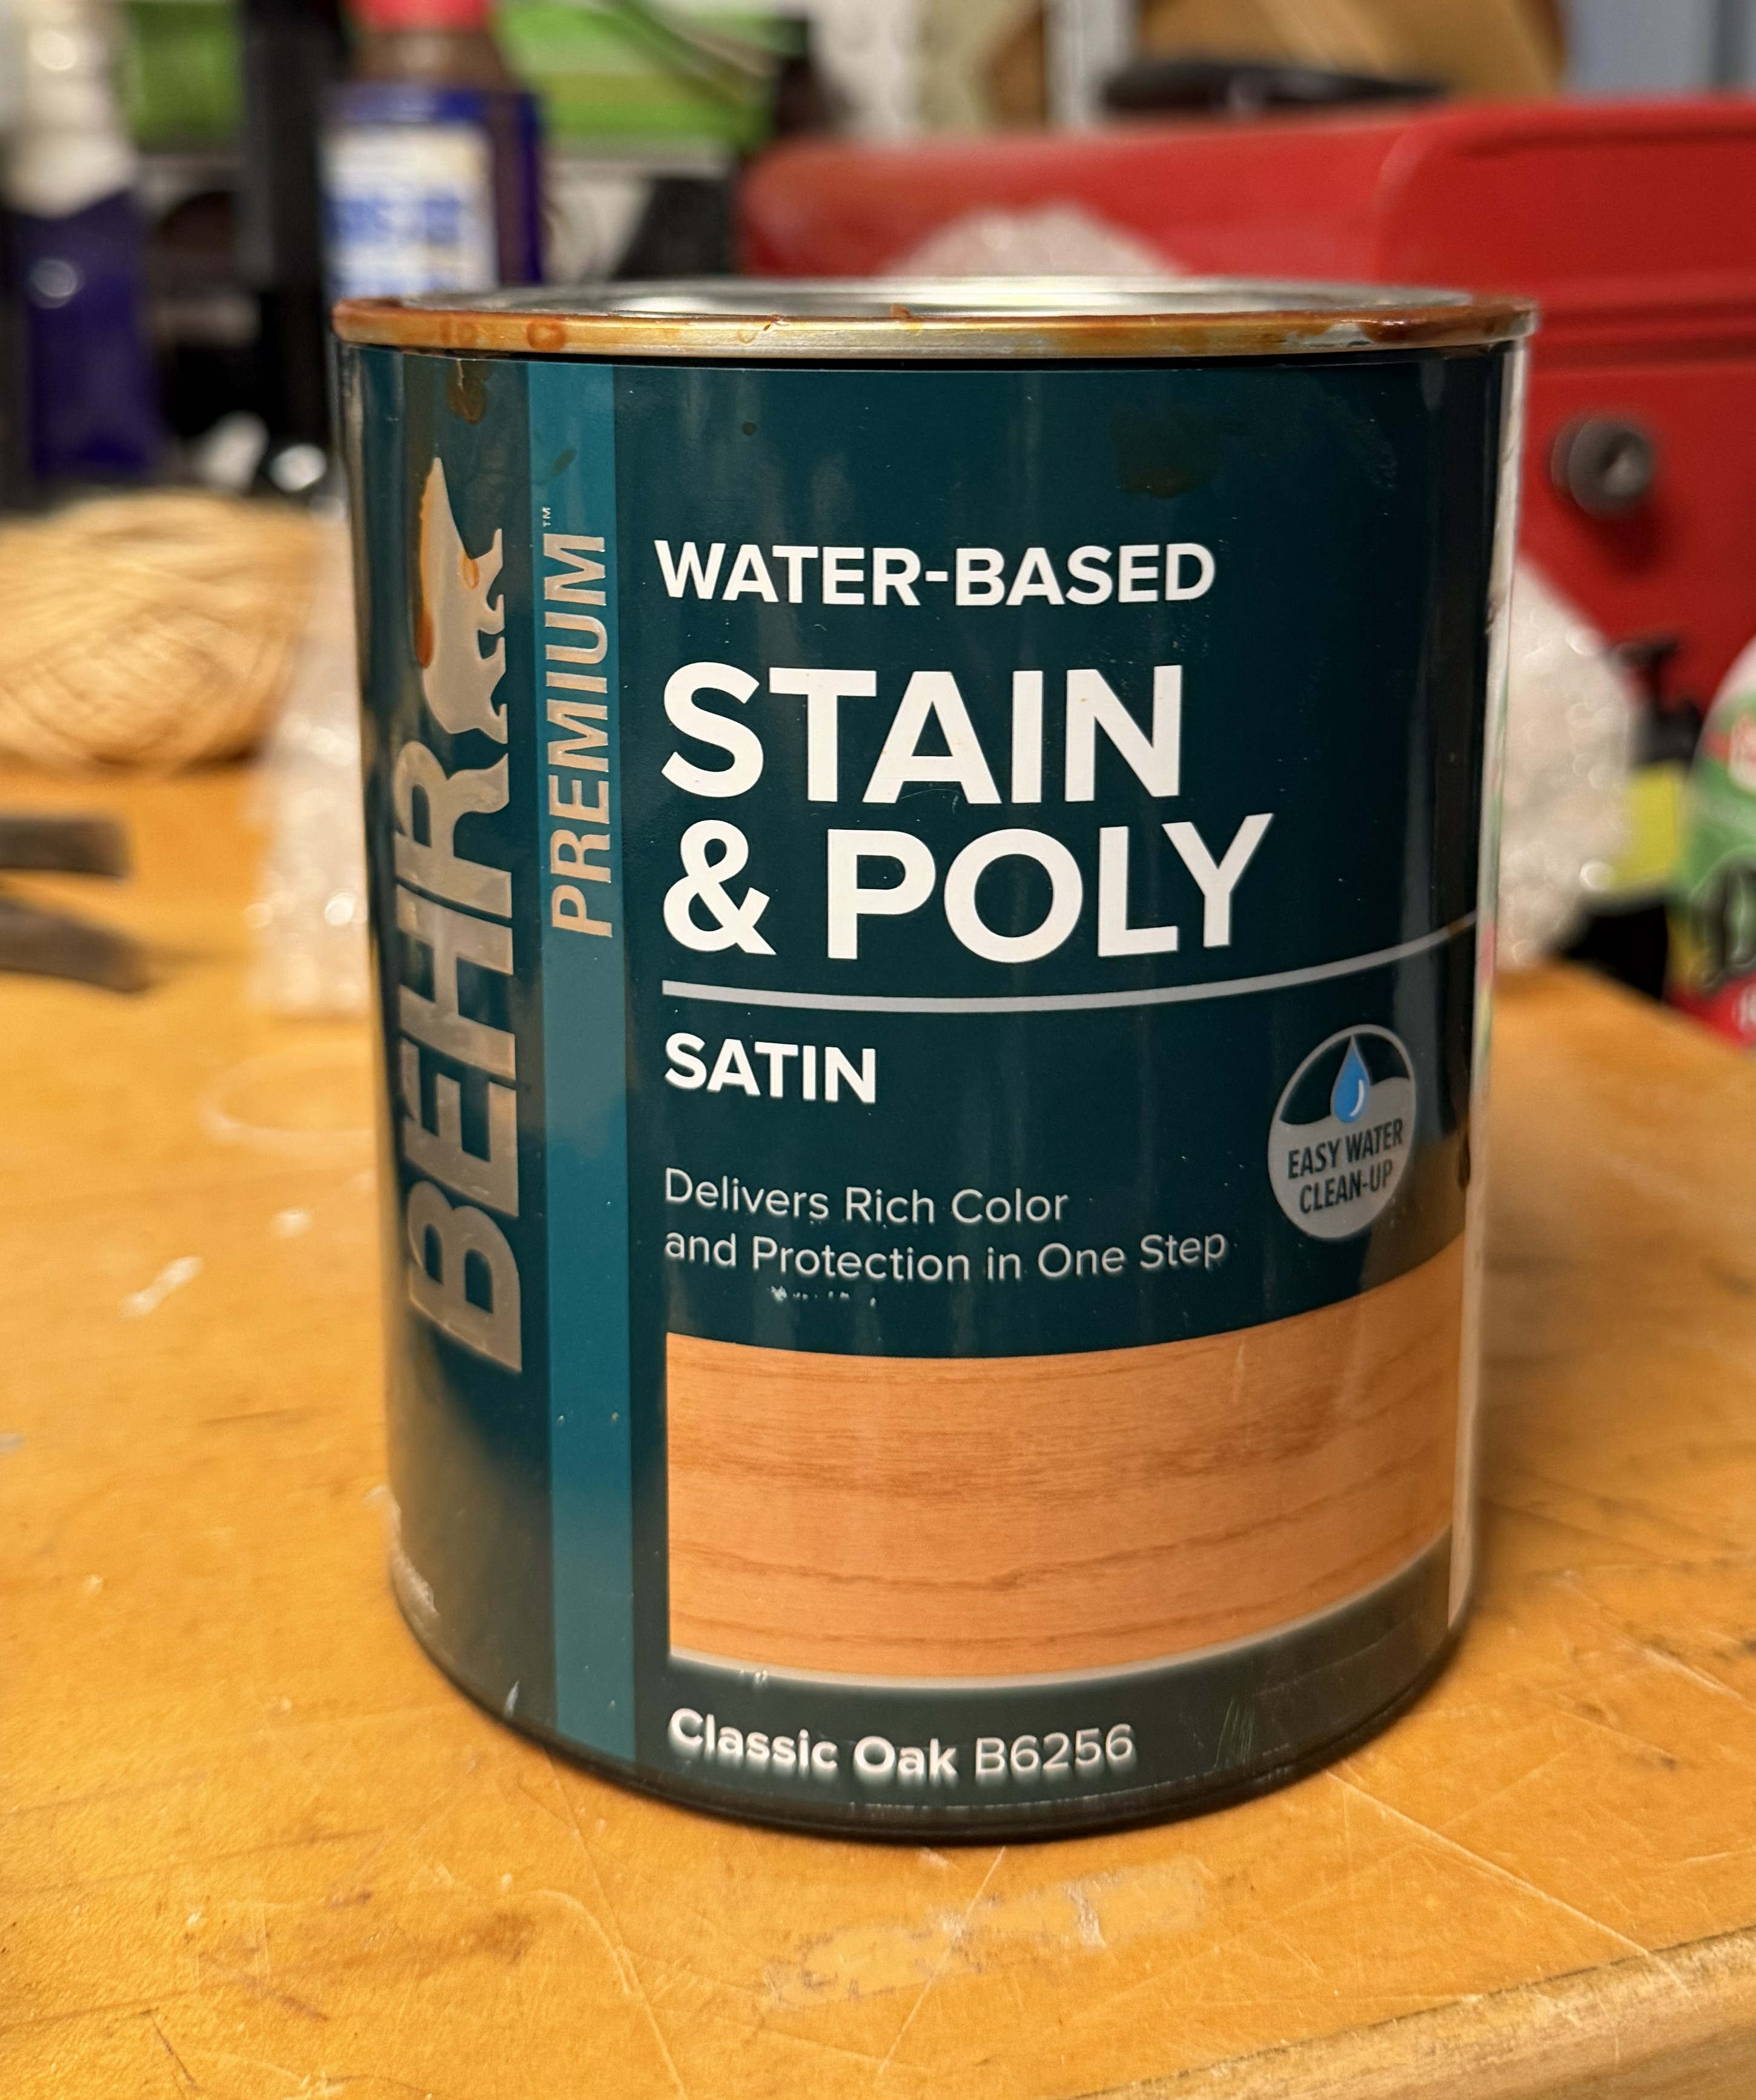
We applied 3 coats of water-based Behr Poly/Stain, available at Home Depot. It took less than 1 quart for all 3 coats. We touch-sanded and buffed with a nylon pad after the first 2 coats, and hand sanded with 400 grit on the final coat after plenty of drying time.

Reverse the order of removal to reinstall, which goes fast, and your rig looks like others that cost twice as much! Total net weight added to the rig: less than 3 pounds. Total cost of this project, $446. And I’ll bet we added at least $1K to the value of our Plan B home! For so many RV projects that have to be done but go unseen (plumbing, electrical, suspension, roof, etc.), this is one we will see and use every day of every trip, at last!
Don’t forget to scribble your email in the box up top to subscribe! It’s free and so totally worth it.
Tippy will chime in, of course, because that’s what he does.


I am overwhelmed with how talented you guys are; I would be terrified to attempt such a project and would likely mess it up if I tried. Your rig looks like a very nice unit; I once had a 20 foot travel trailer but towing it was somewhat daunting but it was comfortable, clean and safe once you got to your destination. I hope you are both happy, well and continuing to enjoy life. Bob Fernandez, rfernandez44@yahoo.com
Impressive! It’s great to be DIY’ers and it looks fantastic! Now you are ready for your next big trip!
It looks great! You two are quite the team…and an inspiration! Much love to both of you!