
Every time we set up the trailer at a camp site, I realize that I haven’t yet installed roll-out trays in the storage area. I’m reminded when everything I seem to need is behind everything else in the pass-through storage compartment. It’s a roomy space, but much deeper than it is wide.
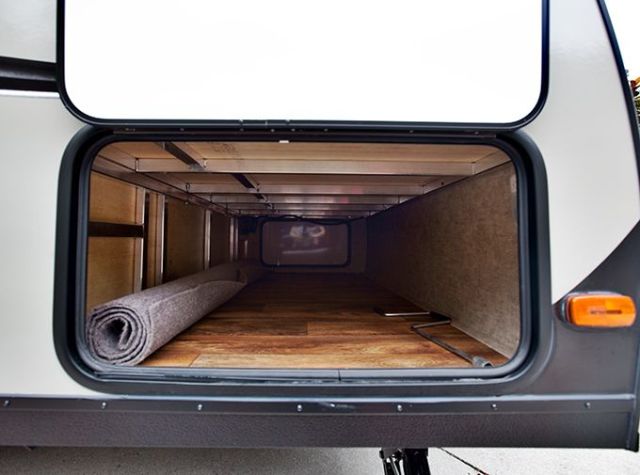
Not my rig, but a very similar pass through storage
If we owned a high-dollar motor home, the kind with a “basement” like the luggage storage on a Greyhound Bus, we would already have roll-out cargo trays, because they all come with them.
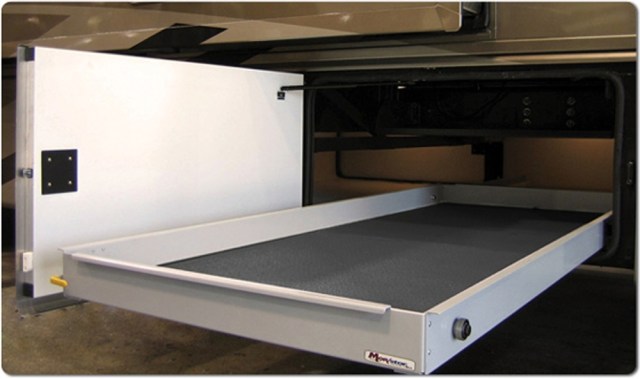
Roll Out Cargo Tray in a motor home Basement (still not my rig, yet)
I priced out some ready-made options; there are plenty available online. None of them really fit my need, most being either too wide, too narrow, or too shallow, and all very expensive. I’m pretty handy with cabinetry, and I have the tools, so I made the decision to fabricate my own kit, a 2 sided option (one tray on each side port and starboard), rather than a full depth slider that can slide out either side. The hardware for the full slider was pretty expensive, or something I would have to create myself, so I went for a more “off the shelf” approach and selected some deep 36” full extension rails from Hettich Manufacturing and available on Amazon. They have a 500 lb. capacity, which is a little steep for my needs, but the next lower choice was 150 lbs, which I thought too lightweight.


I designed the trays to be as full width as possible, 24”, and 4” tall to keep the lumber at nominal sizes. I opted for a melamine covered particle board panel as the bottom of the tray, giving it a finished look without having to paint. I used Home Depot hemlock 1X4’s for the framework of the trays, and also the racks designed to hold the trays. Building a rack to hold the trays gave me the option of installing the kits as a unit, and not having to crawl into the space to fabricate up a bunch of support.
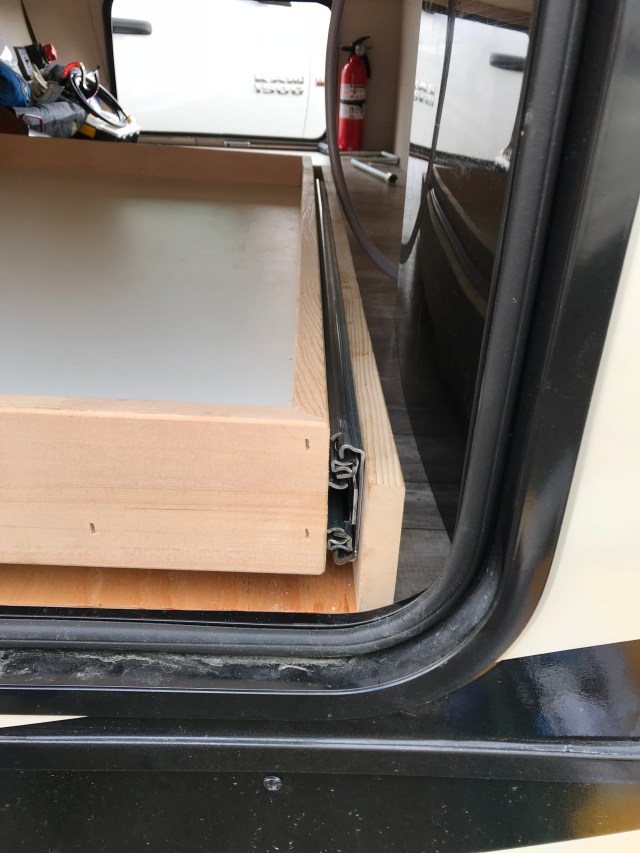
The trays are 44” deep, extending deeper than the slider hardware, but with the extra 8” easily reached when the tray was fully extended. I dadoed the bottoms into the side frames, and mitered the corners of the side frames to give it a finished look. I decided not to paint, just leave the woodwork natural. It was all glued together, with 1 ¼” staples in all the joints, which were then clamped until the glue had fully set. The fab and assembly was pretty straightforward, with the most care taken to make sure everything was square and tight.
Once the trays and the mounting racks were assembled, I calculated where the hardware would mount on both the tray and the rack to make sure the sliders and trays would clear the hatch opening when extended. I laid it out directly on the rack using the dimensions of the slider hardware provided by Hettich, and everything worked smooth as butter.
Mounting of the racks into the storage area was via ¼”x1 ½” lag screws through the cross members on the bottom of the racks directly into the plywood floor of the storage, with a little touch of glue on the threads to help convince them to say put. Large fender washers under the lag screws ensure they won’t pull through. The slider hardware, being heavy duty and intended for metal tool cabinets, doesn’t come apart like a standard kitchen cabinet drawer slider, so the mounting cross-members and holes had to be planned out so that they tray could be fully extended, the rack held in position, and Wendy could slither into the space from the other side to crank in the lag screws. Thank God she’s still thin and sexy! For the second side, we actually had to hoist her into the first installed tray to get the job done.


The result is excellent! All the stuff I used to have to unload how just slides out of the way to get at anything. A project that would have run nearly $1400 with purchased kits was done for about $350. We had a chance to test it last weekend, and it was well worth the effort.


Pingback: DIY RV Slide-Out Storage Tray Ideas on a Budget - Craftsy
Pingback: 20 Easy DIY RV Slide Out Storage Tray Ideas - DIY & Crafts